What is Arduino and How to Use It: A Comprehensive Guide
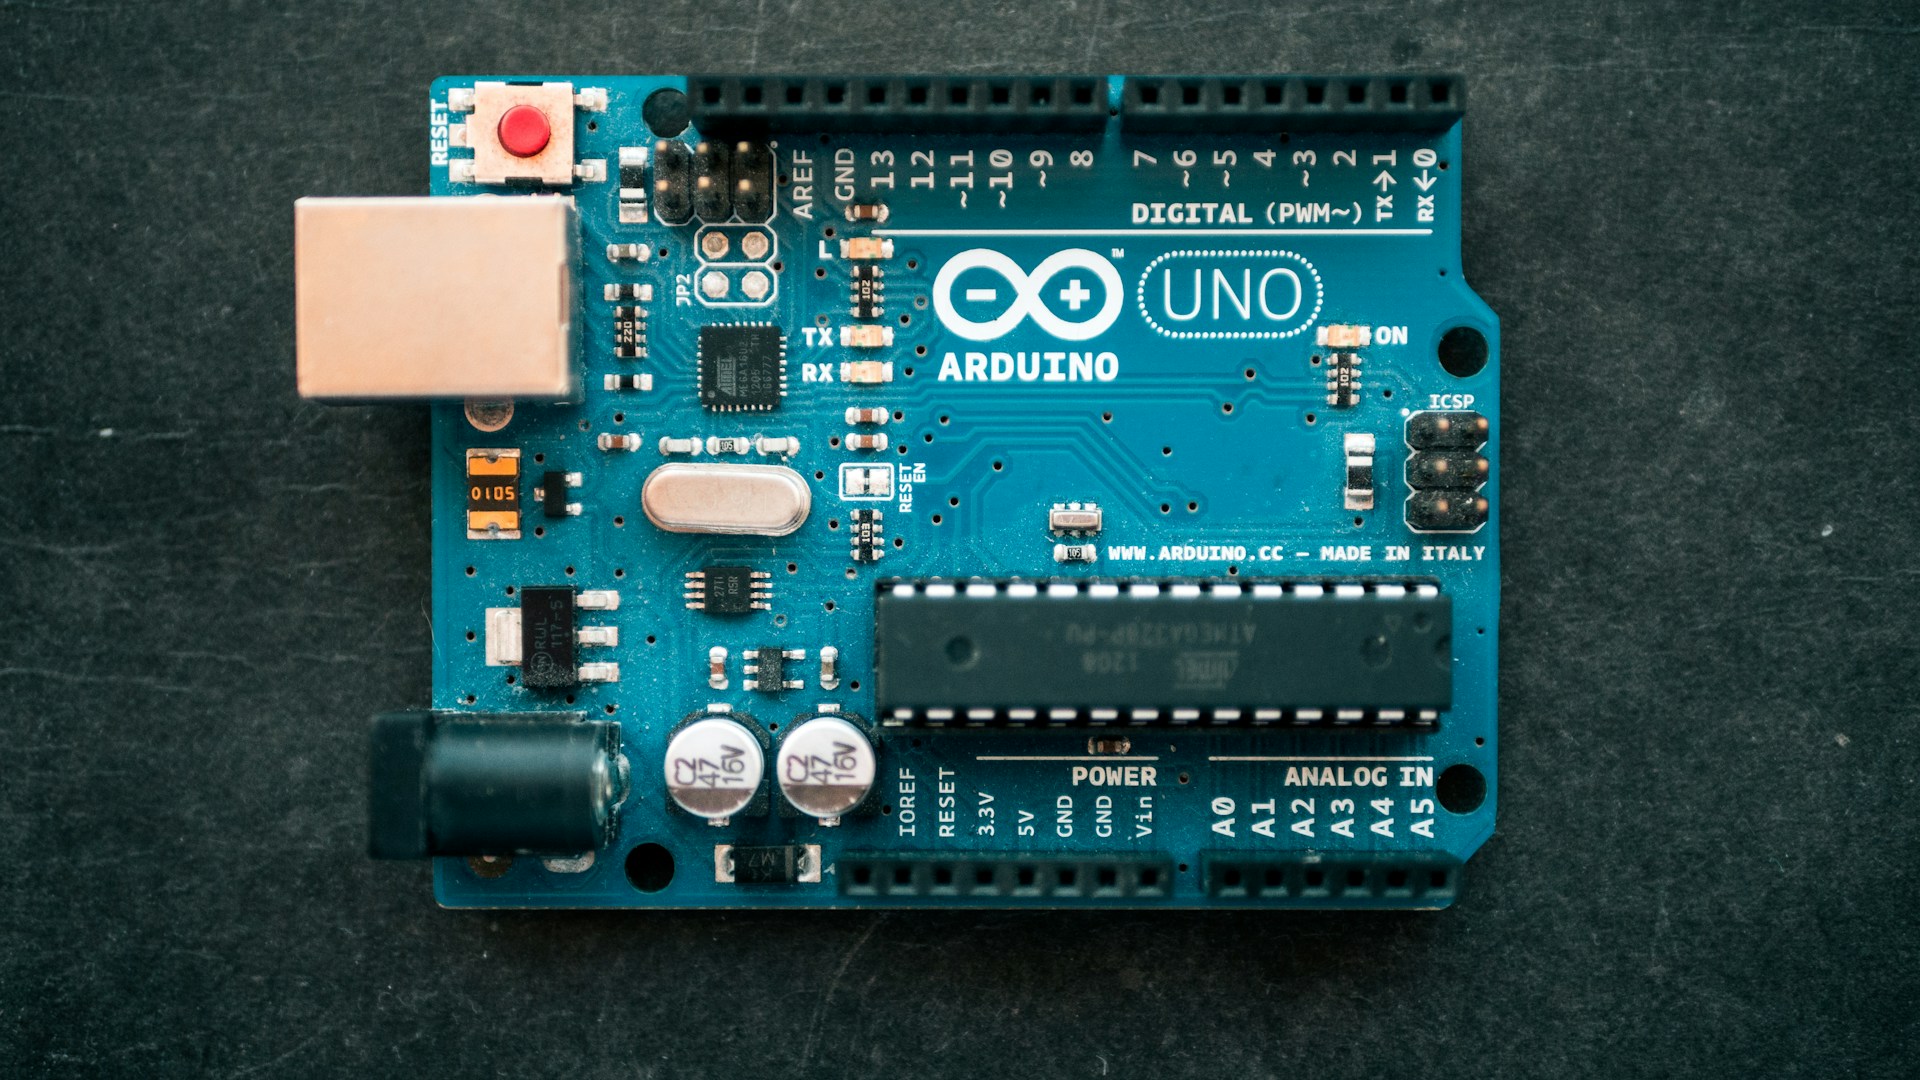
Table of Contents
Introduction
If you want to dive into the world of electronics and programming, Arduino is an ideal starting point. Simply put, Arduino is an open-source electronics platform based on easy-to-use hardware and software. What makes it a top choice? Its affordability, versatility, and a robust community that supports practically every imaginable project. If you’re looking to create anything from simple sensors to complex robots, you’ll find Arduino invaluable.
Bottom Line: If you’re a DIY enthusiast, hobbyist, or even a professional looking to prototype, Arduino is a must-have tool. Start with the Arduino Uno, which typically retails for around $25 and is the best entry point for beginners.
What is Arduino?
Arduino consists of both hardware (Arduino boards) and software (the Arduino IDE).
The Hardware
At its core, Arduino boards can read inputs like light sensors or buttons and turn them into outputs like activating a motor or lighting up an LED. The most popular board is the Arduino Uno, based on the ATmega328 microcontroller. Key features include:
- Digital I/O Pins: 14 (6 can be used as PWM outputs)
- Analog Input Pins: 6
- Operating Voltage: 5V
- USB Connection: To upload code from your computer
You can easily find the Arduino Uno on Amazon or at electronics supply stores.
The Software
The Arduino IDE (Integrated Development Environment) is user-friendly and allows you to write and upload code to your boards. The syntax is based on C/C++, but you can get up and running quickly without extensive programming knowledge.
How to Use Arduino
Using Arduino involves three main steps: setting up your hardware, writing your code, and uploading it to the board. Here’s a breakdown of each step.
1. Setting Up Your Hardware
- Get an Arduino Board: Start with the Arduino Uno.
- Additional Components: Basic starter kits are available, usually for around $50-$75, which include various sensors, lights, and wires to get you started.
- Breadboard: An essential component for prototyping without soldering.
Example Project: Blinking an LED
- Connect your LED to digital pin 9 on the Arduino through a resistor.
- Connect the ground pin from the LED to the Arduino ground.
2. Writing Your Code
Using the Arduino IDE, you can write your program which is often referred to as a “sketch”. Here’s an example sketch for blinking an LED:
void setup() {
  pinMode(9, OUTPUT); // Set digital pin 9 as an output
}

void loop() {
  digitalWrite(9, HIGH); // Turn the LED on
  delay(1000); // Wait for a second
  digitalWrite(9, LOW); // Turn the LED off
  delay(1000); // Wait for a second
}
3. Uploading Your Code
- Connect your Arduino to your computer via USB.
- Click on the ‘Upload’ button in the IDE.
- Watch your LED blink!
Advanced Projects to Explore
Once you’ve mastered the basics, consider diving into more advanced projects like:
- Home Automation: Control lights or appliances remotely.
- Robotics: Build a simple robot that follows lines.
- Weather Station: Monitor temperature and humidity using sensors.
Resources for Learning
- Arduino’s Official Website: Offers documentation and tutorials.
- YouTube Tutorials: Channels dedicated to Arduino projects.
- Forums: Join the Arduino community for tips and troubleshooting.
Who This Is For
- Beginners: If you’re new to electronics, Arduino is user-friendly.
- DIY Enthusiasts: Ideal for hobbyists who love building projects.
- Educators: Great for teaching programming and electronics in schools.
Who Should Skip This
- Advanced Programmers: If you’re already seasoned in electronics, you may find the simplicity of Arduino limiting.
- Professionals: Those working on complex commercial products might require stronger microcontroller options, such as the STM32 or Raspberry Pi.
Summary
Arduino is more than just a microcontroller; it’s a gateway into the world of electronics and programming. With its ease of use and large community support, it enables you to create fascinating projects that can vary in complexity. For those just starting, the Arduino Uno is your best bet at around $25, complemented by a starter kit for comprehensive learning.
Don’t hesitate—grab your Arduino today and start building! Whether it’s a simple LED project or a more complex system, the journey into DIY electronics has never been more exciting.