Mastering the Art of Soldering: Techniques Every Maker Should Know
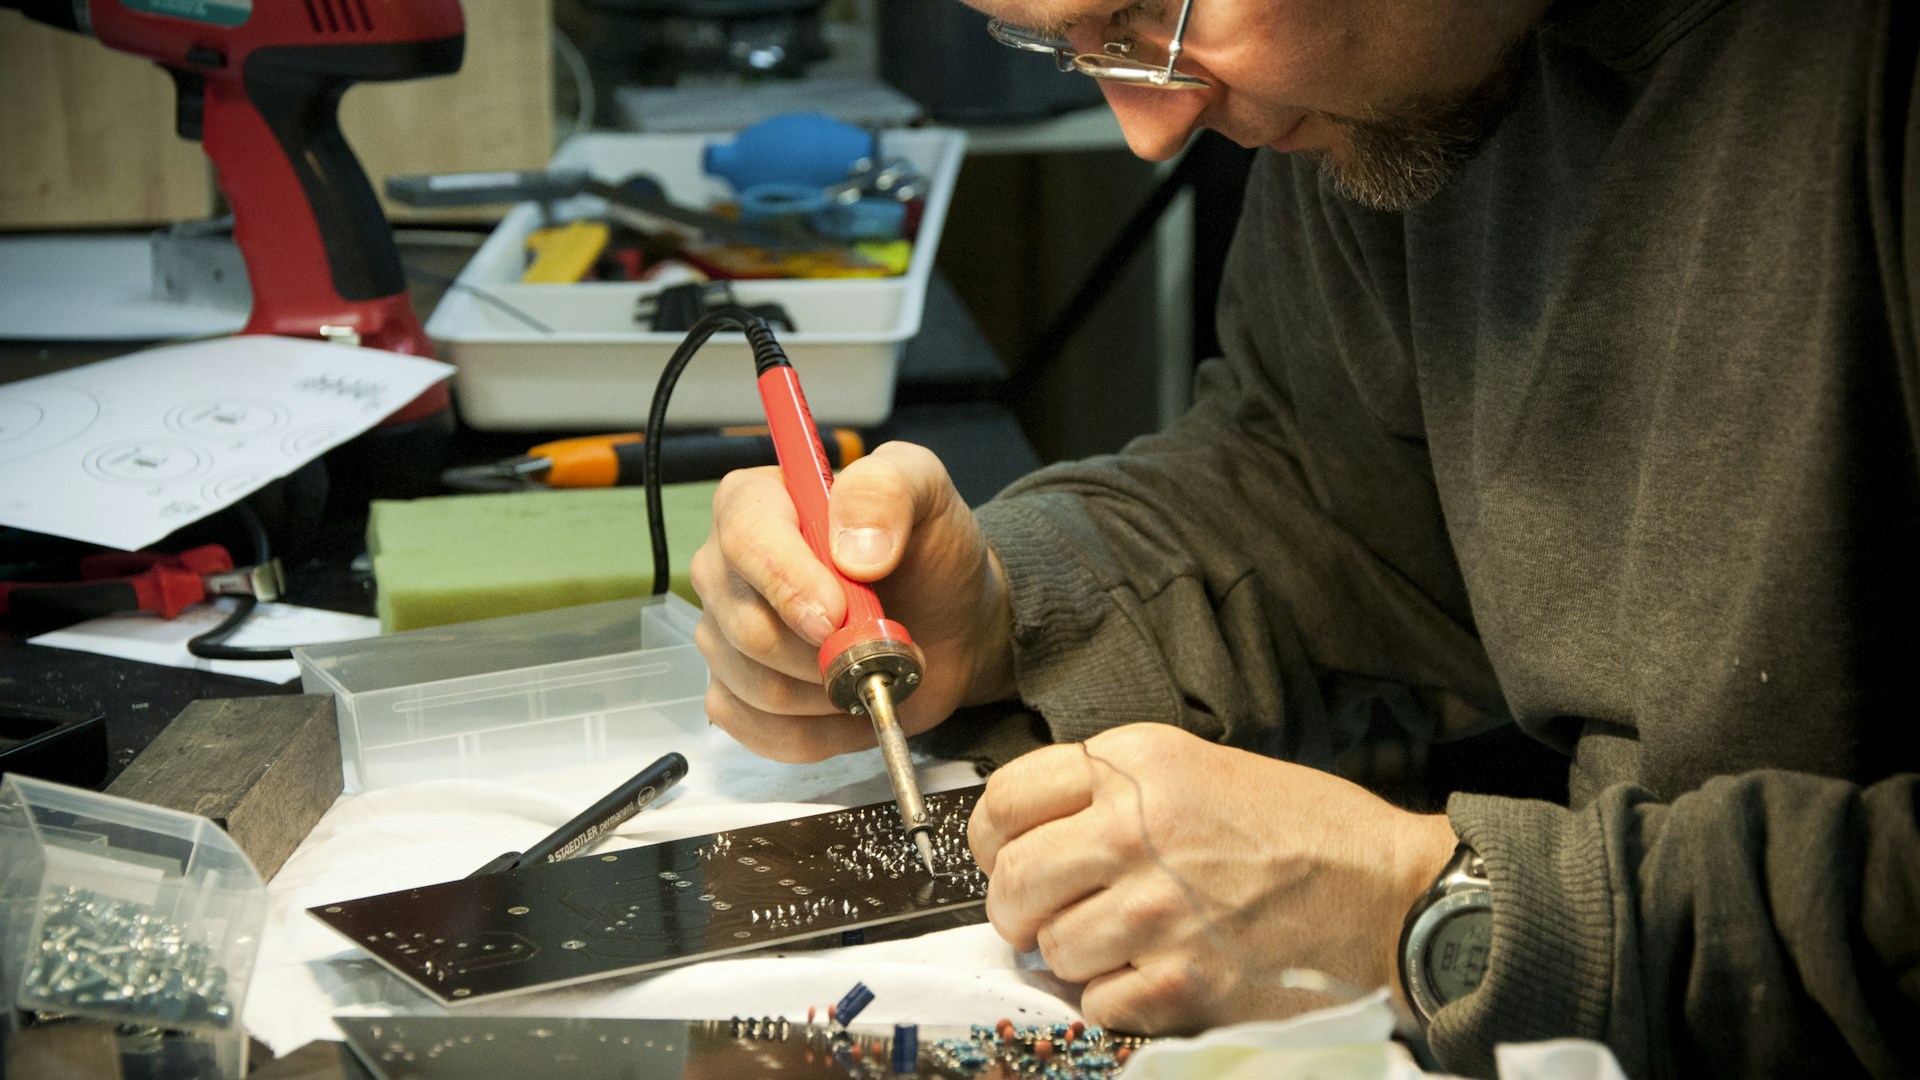
Table of Contents
Introduction
If you want to perfect your DIY electronics projects, mastering soldering techniques should be your priority. The best soldering techniques not only ensure strong electrical connections but also enhance the overall quality and longevity of your projects. Whether you’re a hobbyist or a professional maker, knowing how to solder effectively can make your projects much more successful.
Bottom Line: The basic techniques of through-hole and surface mount soldering are your best foundation. However, skills like rework and desoldering can significantly enhance your versatility.
Essential Soldering Techniques
-
Through-Hole Soldering
- Overview: This is the most common technique and involves inserting component leads through a circuit board and soldering them from the opposite side.
- Tools Needed: A quality soldering iron (I recommend the Weller WLC100 at around $50 for its adjustable power), solder (preferably 60/40 tin/lead or lead-free alternatives), and a pair of wire cutters.
- Steps:
- Heat the lead and pad with the soldering iron.
- Feed solder into the joint and remove the heat.
- Allow the joint to cool undisturbed.
-
Surface-Mount Soldering (SMD)
- Overview: Used for modern electronics, this technique involves soldering components without leads directly onto their pads on the printed circuit board (PCB).
- Tools Needed: Fine-tipped soldering iron (like the Hakko FX-888D, approximately $90) and solder paste.
- Steps:
- Apply solder paste using a stencil to the PCB pads.
- Use tweezers to position the SMD component.
- Reflow the solder using a hot air rework station (KSGER T12 at about $70 works well).
-
Soldering Connections (Wire to Board)
- Overview: For DIY projects that require connecting wires to components, understanding wire to board soldering is crucial.
- Tools Needed: Similar to previous methods, but also consider heat-shrink tubing for wire insulation.
- Steps:
- Strip the wire ends and twist them for sturdiness.
- Heat the connection with your soldering iron and feed solder into the joint.
-
Soldering in Tight Spaces
- Overview: Often overlooked, soldering in confined areas can be challenging.
- Tools Needed: A soldering iron with a thin tip (like the Weller WHS40, around $40) and desoldering braid.
- Steps:
- Use a smaller soldering iron tip to navigate tight spots.
- Heat carefully, avoiding excess solder that can create bridges.
Important Tips for Successful Soldering
- Use the Right Temperature: Aim for 350°C (662°F) for lead-based solder and adjust for lead-free options.
- Cleanliness Matters: Ensure your components and work area are free from dust and grease to create reliable solder joints.
- Practice Makes Perfect: Use scrap boards to practice your techniques until you feel confident.
Comparison of Soldering Irons
| Model | Price | Temperature Control | Tip Type | Best for |
|---|---|---|---|---|
| Weller WLC100 | $50 | Yes | Medium | Beginners and general |
| Hakko FX-888D | $90 | Yes | Fine | Surface mount soldering |
| KSGER T12 | $70 | Yes | Interchangeable | Versatile applications |
Who This Is For
- Beginners: If you’re starting out with DIY electronics, these techniques will form a solid foundation for you.
- Hobbyists: Perfect for those looking to enhance their skills and take on more complex projects.
- Professionals: Useful for quick repairs or complex assemblies where precision is critical.
Who Should Skip This
- Casual Crafters: If you’re only doing simple projects that don’t require soldering, like using breadboards, you might bypass the nuances of these techniques.
- Complete Novices with No Interest: If electronic soldering isn’t something you need or want to tackle, investing time here may not serve you well.
Conclusion
Mastering soldering techniques is crucial in enhancing the quality of your DIY electronics projects. Whether you’re implementing through-hole or surface mount technology, understanding these fundamental skills will take your creations to the next level. Every maker should invest in quality tools and practice regularly to fine-tune their soldering skills.
To make the most of your experiments, I fully recommend starting with the Weller WLC100 and practicing your techniques on old circuit boards or kits. If you want advanced capabilities, consider investing in a Hakko FX-888D or KSGER T12 for precision in your projects.
Get started on your journey to becoming a soldering master; your creations will surely thank you.