How to Use Raspberry Pi Zero 2 W: The Ultimate Beginner's Guide
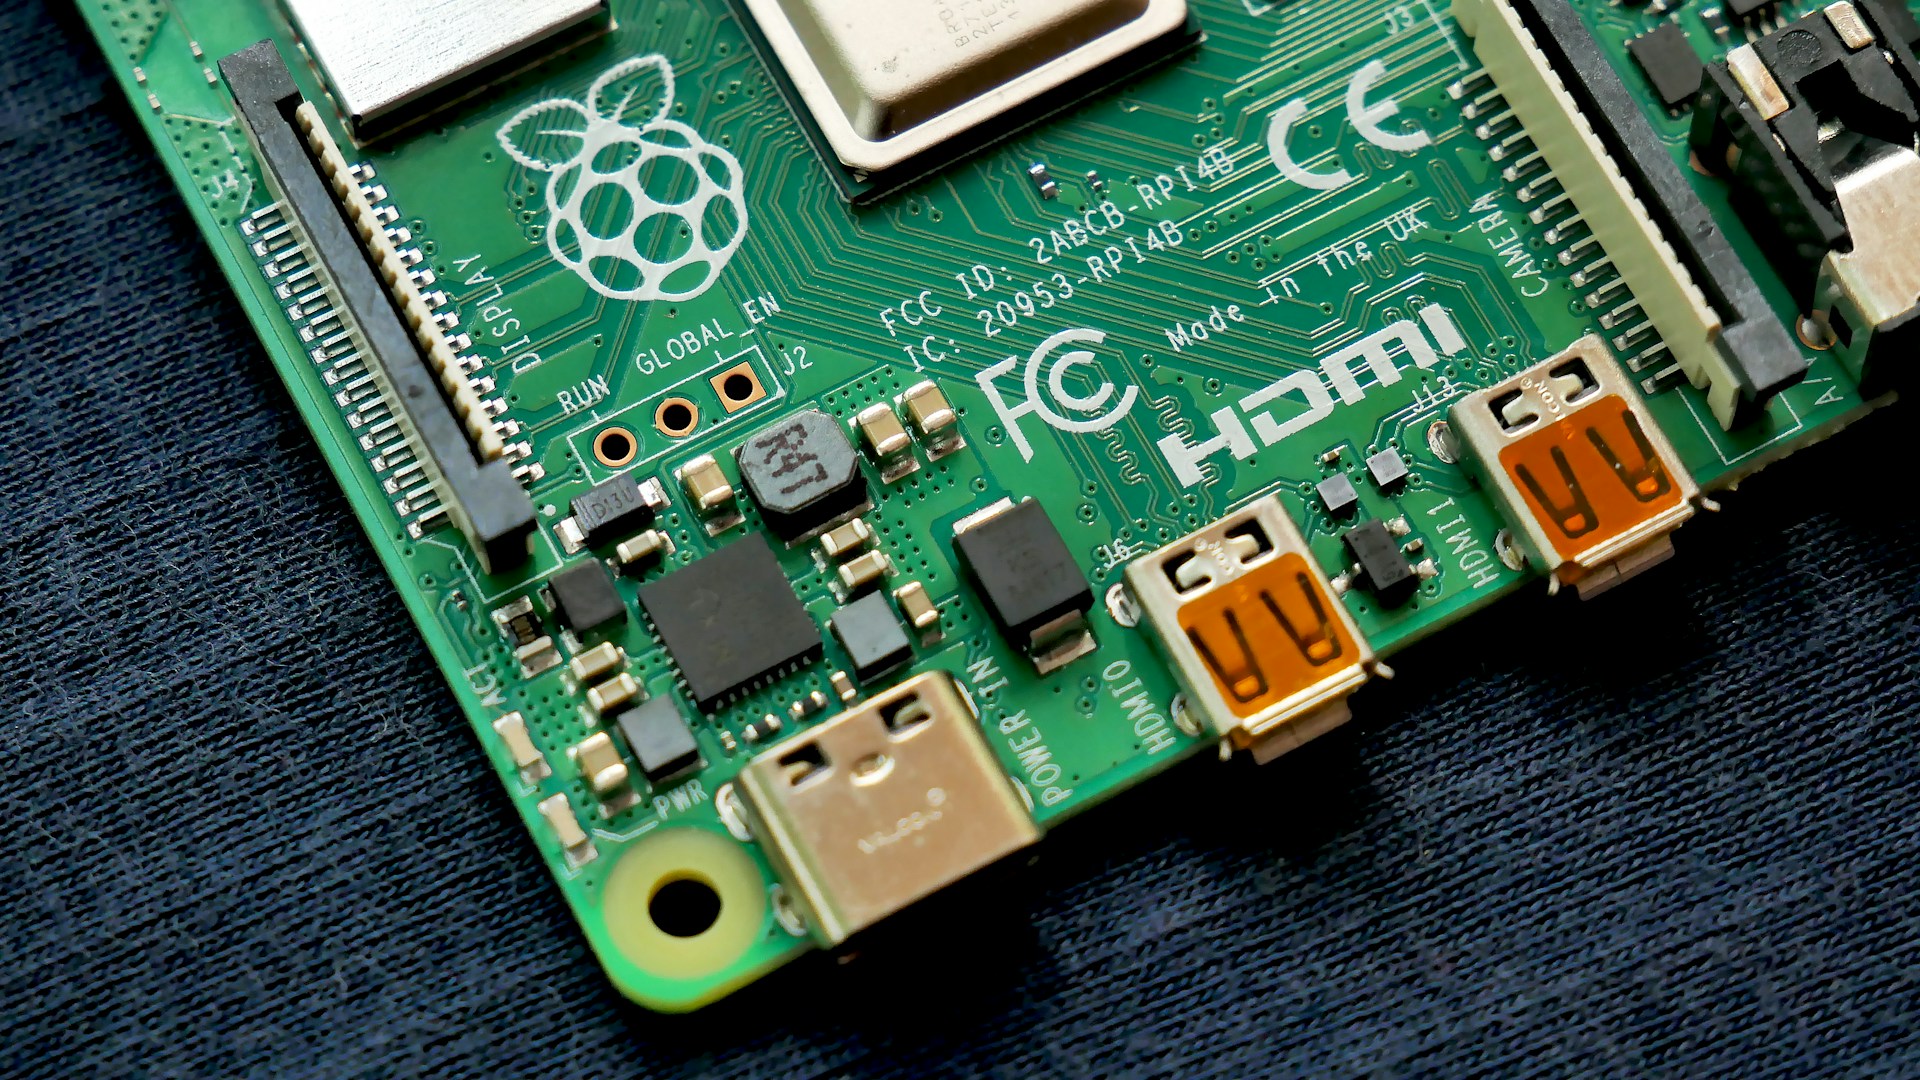
Table of Contents
The Bottom Line
The Raspberry Pi Zero 2 W is an exceptionally versatile and cost-effective tool for DIY enthusiasts and makers alike. With its powerful quad-core processor and wireless connectivity, it’s perfect for a variety of projects from media centers to IoT devices. If you are looking for a compact and low-cost solution for your next project, the Raspberry Pi Zero 2 W is the best choice on the market today.
Getting Started with Raspberry Pi Zero 2 W
The Raspberry Pi Zero 2 W retails for about $15, making it an incredibly affordable entry point into the world of computing and electronics. It is equipped with a 1 GHz quad-core ARM Cortex-A53 CPU, 512 MB RAM, and built-in Wi-Fi and Bluetooth, which opens up endless project possibilities.
What You’ll Need
Before diving into your project, you’ll need a few essentials:
- Power Supply: A Micro USB power supply (5V, minimum 2.5A).
- MicroSD Card: At least 8 GB capacity to store your operating system and files.
- Micro USB Adapter: If you’re using peripherals such as keyboards or mice.
- HDMI Mini Adapter: For video output if you want to connect it to a display.
- Case: While not essential, it can help protect your board.
Setting Up Your Raspberry Pi Zero 2 W
1. Install Raspberry Pi OS
- Download Raspberry Pi Imager from the official website.
- Select ‘Raspberry Pi OS (32-bit)’ for a user-friendly experience.
- Insert your MicroSD card into your computer and use the Imager to write the OS to the card.
- Once done, safely eject the MicroSD card and insert it into your Raspberry Pi Zero 2 W.
2. Powering Up
Connect your Micro USB power supply to the Raspberry Pi Zero 2 W and power it on. You should see the boot sequence on your display. Follow the on-screen prompts to configure your basic settings including language and Wi-Fi connections.
3. Update and Upgrade
Once the OS is booted, it’s best practice to update your system:
sudo apt update
sudo apt upgrade
These commands ensure that you have the latest updates and security features.
Use Cases
The Raspberry Pi Zero 2 W shines in various projects. Here are a few practical examples:
- Media Center: Use software like OSMC or Plex to stream your favorite shows and movies.
- Home Automation: Integrate the Zero with home automation tools like Home Assistant to control lights and appliances.
- Portable Pi-Hole: Set up a network-wide ad blocker that fits in the palm of your hand.
- DIY Computer: Pair it with an HDMI display and a keyboard to create a lightweight desktop setup.
Who This Is For
If you are a:
- DIY Enthusiast: You’ll find the Raspberry Pi Zero 2 W to be a fantastic canvas for creativity.
- Student: This device is suitable for learning programming and electronics fundamentals.
- Hobbyist Developer: The Zero 2 W can serve as a great platform for experiments in software and hardware integration.
Who Should Skip This
The Raspberry Pi Zero 2 W may not be for you if:
- You Need More Power: If your projects require more intensive computing power, consider the Raspberry Pi 4 which has more RAM and better processing capabilities.
- Ecosystem Lock-in: If you prefer a more integrated ecosystem, commercial products like Arduino might suit you better as they often come with extensive documentation and support.
Comparing Alternatives
Here’s a quick comparison of the Raspberry Pi Zero 2 W vs. Raspberry Pi 4 Model B:
| Feature | Raspberry Pi Zero 2 W | Raspberry Pi 4 Model B |
|---|---|---|
| CPU | 1 GHz Quad-Core ARM Cortex-A53 | 1.5 GHz Quad-Core ARM Cortex-A72 |
| RAM | 512 MB | 2 GB / 4 GB / 8 GB |
| Wireless Connectivity | Yes (Wi-Fi and Bluetooth) | Yes (Wi-Fi and Bluetooth) |
| USB Ports | 1x Micro USB | 2x USB 3.0, 2x USB 2.0 |
| HDMI Output | Mini HDMI | Full HDMI |
| Price | ~$15 | ~$35-$75 (depending on RAM) |
| Best For | Simple Projects | More Complex Projects |
Final Thoughts
The Raspberry Pi Zero 2 W is an incredible tool for anyone looking to dive into DIY electronics and computing. Its low-cost nature paired with powerful features makes it a worthy investment for various projects. Given its versatility, it stands out against competitors like the Arduino for many applications due to its more powerful processor and additional capabilities.
If you are ready to start your next project, there’s no doubt—the Raspberry Pi Zero 2 W should be at the top of your list. Grab one today, and unleash your creativity!