How to Use Raspberry Pi Without a Monitor: A Step-by-Step Guide
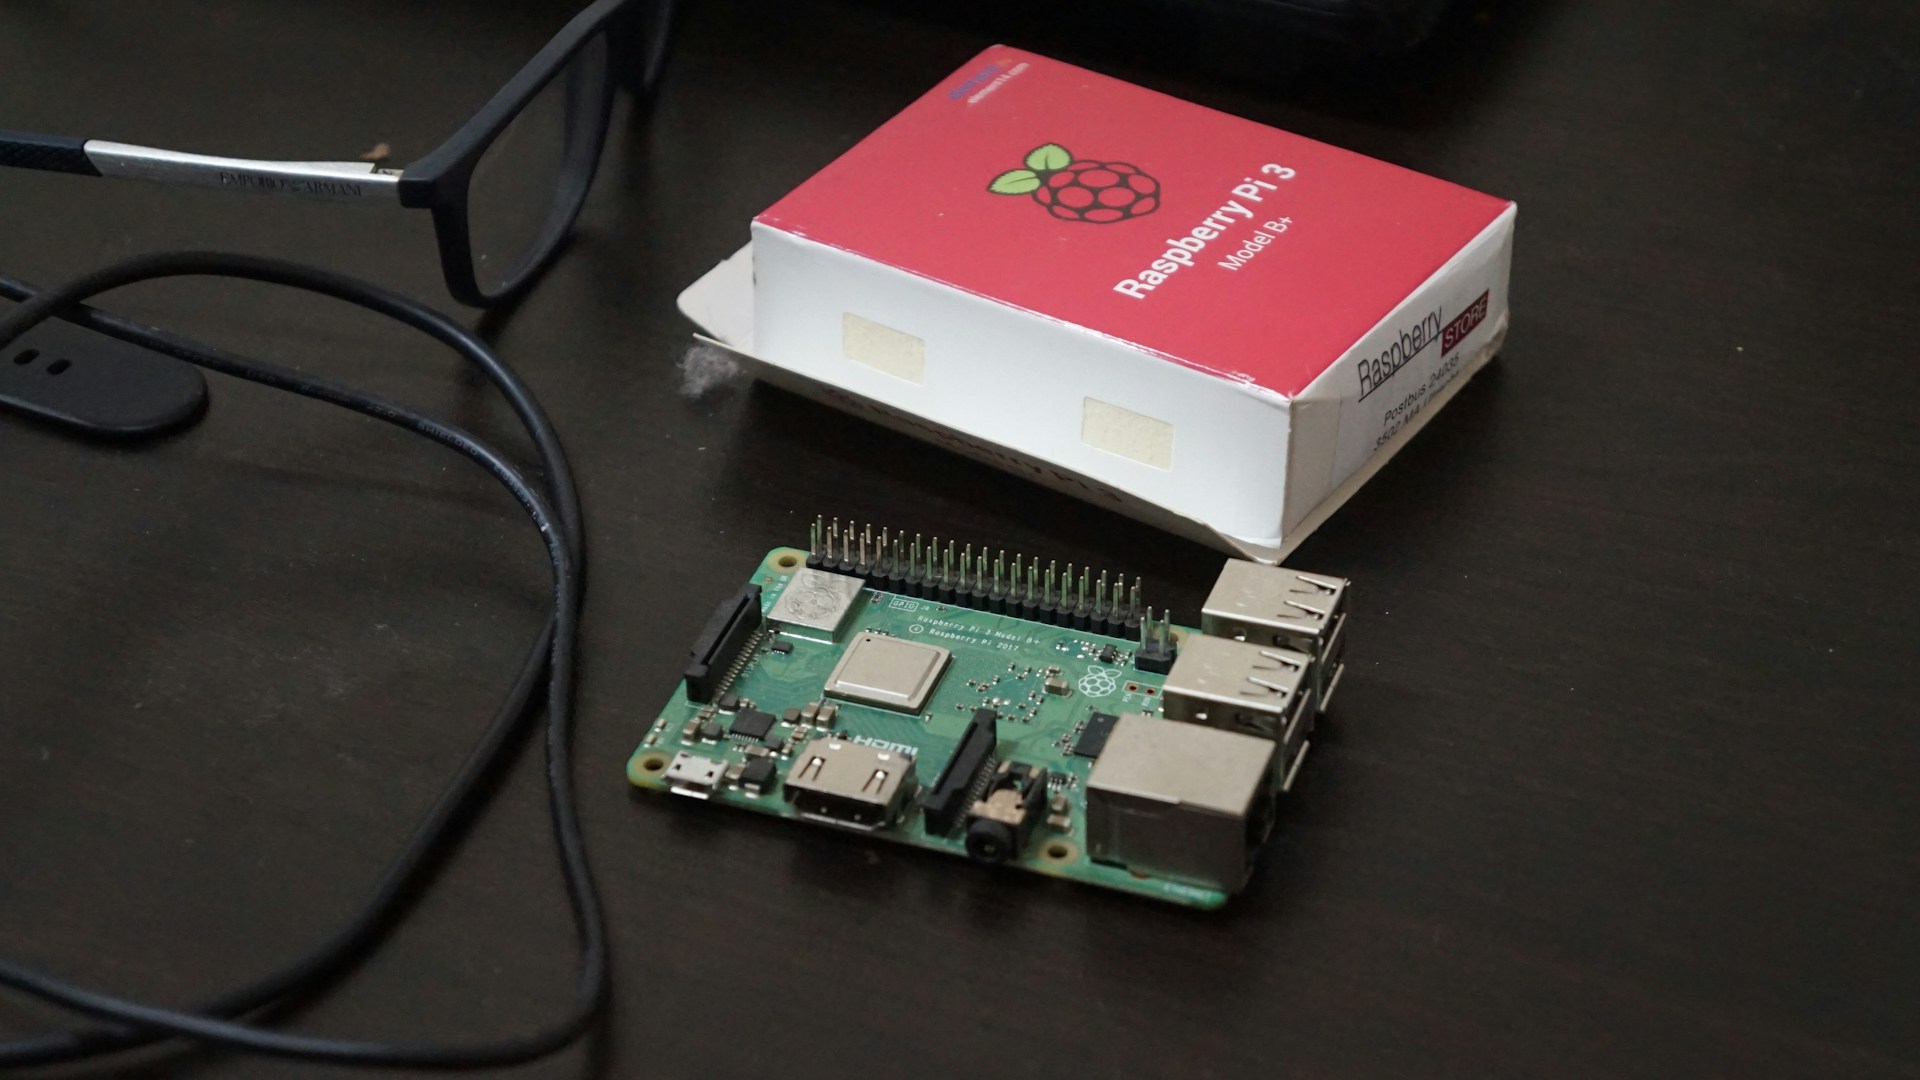
Table of Contents
Introduction
Using a Raspberry Pi without a monitor is not only feasible but can also enhance your DIY projects, making your setup more compact and user-friendly. This approach is perfect for applications like headless server setups, IoT devices, or even retro gaming consoles. The bottom line? If you’re looking to maximize the utility of your Raspberry Pi while minimizing desk space, you need to learn how to operate it remotely.
Bottom Line: Our Recommendation
For straightforward and hassle-free control of your Raspberry Pi without a monitor, I recommend using SSH (Secure Shell) for command-line access and VNC (Virtual Network Computing) for graphical access. This method allows you to maintain full control over your Pi from any device on the same network, like your laptop, tablet, or even smartphone. Pair this setup with a wireless keyboard and mouse if needed for more flexibility.
Step-by-Step Guide: Setting Up Your Raspberry Pi without a Monitor
1. Prepare Your Raspberry Pi
Before you can use your Raspberry Pi without a monitor, you need to set it up properly. Here are the tools you’ll need:
- Raspberry Pi (any model, preferably Raspberry Pi 3 or 4): Prices range from $35 to $75 based on the model and its specs.
- MicroSD Card (16GB or larger): For storage, expect to pay around $10-$15.
- Power Supply: Ensure you have the correct power supply for your model (approximately $10).
- Internet Connection: Either through Ethernet or Wi-Fi.
2. Flash the Operating System
Use software like Raspberry Pi Imager or balenaEtcher to flash a Raspberry Pi OS onto your microSD card. Here’s how to do it:
- Download Raspberry Pi Imager from the official website.
- Insert the microSD card into your computer.
- Open the Imager, select the OS (like Raspberry Pi OS Lite for a minimal version), choose your SD card, and click ‘Write.‘
3. Enable SSH
To operate your Raspberry Pi without a monitor, SSH must be enabled. With Raspberry Pi Imager, you can pre-configure settings before you execute the write:
- After flashing, navigate to the boot partition on the microSD card.
- Create a blank file named
ssh(without any extension) in the root of the boot partition. This automatically enables SSH on boot.
4. Connect to Wi-Fi
If you’re not using Ethernet, you’ll need to set up Wi-Fi, which can also be done through the boot partition:
-
Create a file named
wpa_supplicant.confin the root of the boot partition. -
Edit the file with the following content, replacing
YOUR_SSIDandYOUR_PASSWORDwith your Wi-Fi credentials:country=US ctrl_interface=DIR=/var/run/wpa_supplicant GROUP=netdev update_config=1 network={ ssid="YOUR_SSID" psk="YOUR_PASSWORD" key_mgmt=WPA-PSK }
5. Boot Your Raspberry Pi
Insert the microSD card into your Raspberry Pi, connect your power supply, and boot it up. Your Raspberry Pi will connect to the network automatically.
6. Find Your Raspberry Pi’s IP Address
To establish a connection, you need to find the IP address of your Raspberry Pi. You can:
- Use your router’s interface to find connected devices.
- Use network scanning tools like Angry IP Scanner to locate it.
7. Connect via SSH
On your laptop or mobile device, open a terminal (or Command Prompt on Windows) and enter the following command:
ssh pi@<IP_ADDRESS>Replace <IP_ADDRESS> with the actual IP address you found. The default username is pi and the password is raspberry. You should now have command-line access to your Pi.
8. Optional: Set Up VNC for GUI Access
If you prefer to use a graphical interface:
-
Install VNC Server on your Raspberry Pi by running the command:
sudo apt install realvnc-server -
Enable the VNC server through the Raspberry Pi configuration settings in the command line:
sudo raspi-config -
Select ‘Interfacing Options’ > ‘VNC’ and enable it.
-
On your computer, download the VNC Viewer (available for free) and enter the Raspberry Pi’s IP address to connect.
9. Enjoy Your Headless Setup!
Now you can control your Raspberry Pi completely effortlessly, allowing for various DIY projects and automation tasks without the hassle of a physical monitor.
Who This is For
- Tech Enthusiasts: If you’re into tinkering and automation, headless setups provide flexibility for various projects, from media servers to IoT devices.
- Freelancers and Remote Workers: Connect your Pi to manage tasks, run scripts, or even host a simple website from home.
- Educators: Use it as an affordable teaching tool for lessons on networking, programming, or electronics without needing extensive hardware.
Who Should Skip this
- Beginners Unfamiliar with Command Lines: If you’re just starting, the lack of a graphical interface might overwhelm you. A monitor could provide a gentler introduction.
- Casual Users: If you only need basic functionality like browsing or casual tinkering, the extra steps of a headless setup may not be worth it.
Final Thoughts
Using a Raspberry Pi without a monitor opens up a world of possibilities for creators and tech enthusiasts alike. With straightforward setup steps like enabling SSH and VNC, you can streamline your projects and work smarter, not harder. The power of a headless Raspberry Pi is undeniable, allowing you to fit advanced technology into any space without the clutter of a monitor or peripherals.
If you’re ready to dive into this headless adventure, follow the outlined steps closely. For a clean, efficient, and clutter-free computing experience, setting up your Raspberry Pi without a monitor is certainly the way to go.