How to Use Raspberry Pi to Block Ads: A Step-by-Step Guide
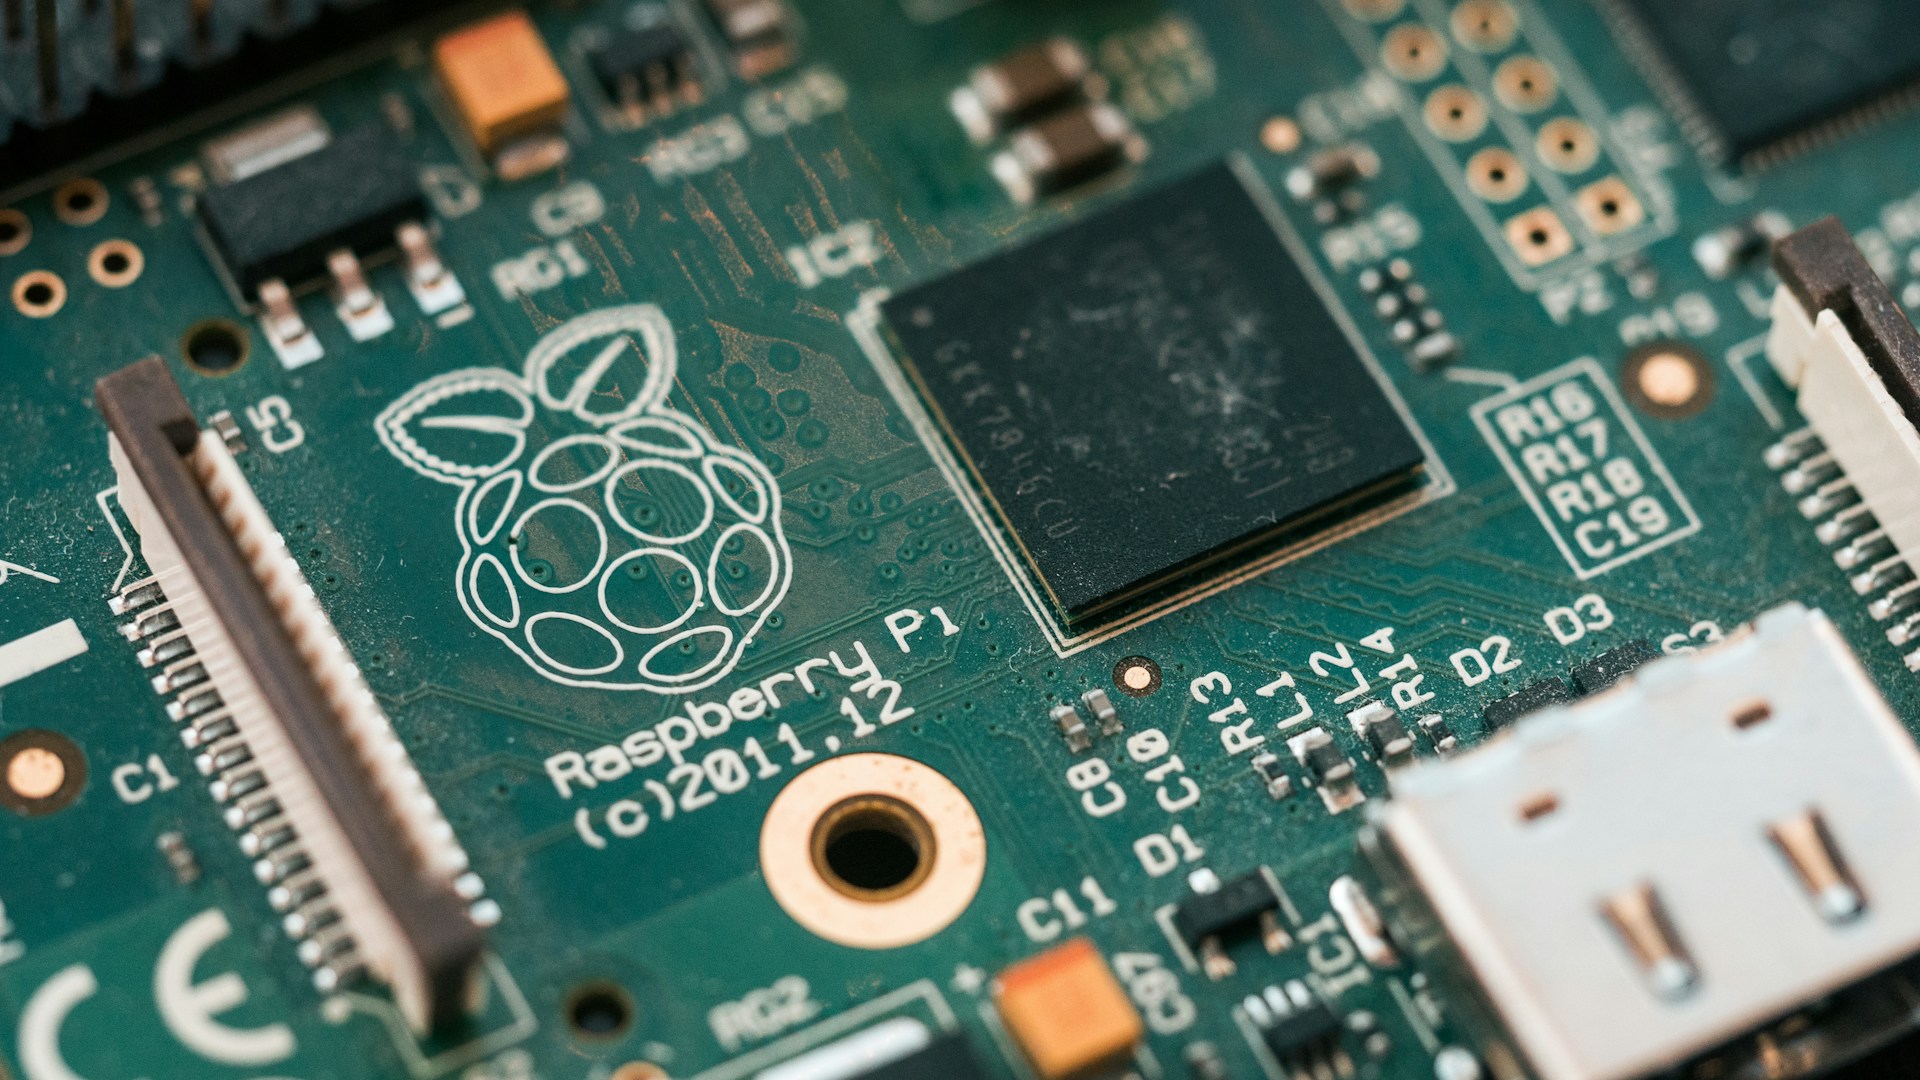
Table of Contents
Introduction
If you’re tired of intrusive ads cluttering your browsing experience, using a Raspberry Pi to block ads is one of the best DIY projects you can undertake. Not only does it enhance your online experience, but it’s also a cost-effective solution to keep unwanted content off your screens. This guide will walk you through the entire setup process, from hardware requirements to software installation, ensuring that you have everything you need at your fingertips.
Bottom Line
Set up a Raspberry Pi running Pi-hole for ad blocking as it is straightforward, highly effective, and requires minimal investment. The total cost can be around $50 for the Pi and accessories. For those serious about a cleaner browsing experience, this is the way to go.
What You’ll Need
Before diving into the setup, make sure you have the following:
- Raspberry Pi: Any model will work, but a Raspberry Pi 3 or 4 is recommended for faster performance.
- Approximate Cost: $35-$55
- Micro SD Card: 8GB or larger to store the operating system.
- Approximate Cost: $10
- Power Supply: A 5V micro USB power supply.
- Approximate Cost: $9
- Network Connection: either Wi-Fi or Ethernet cable for stable internet connectivity.
- Access to your Router: For configuring DHCP settings.
Installation Steps
Step 1: Prepare Your Raspberry Pi
-
Install Raspberry Pi OS:
- Download the Raspberry Pi Imager and flash the Raspberry Pi OS onto your micro SD card.
- Insert the SD card into the Raspberry Pi and power it up. Follow the on-screen instructions to configure your device.
-
Update and Upgrade: Open a terminal and run:
sudo apt update
sudo apt upgrade
Step 2: Install Pi-hole
-
Download Pi-hole: Open your terminal or SSH into your Raspberry Pi and execute:
curl -sSL https://install.pi-hole.net | bash -
Follow the Setup Wizard: The installation will guide you through several configuration options. Pay close attention to:
- Static IP Configuration: Choose a static IP address for your Raspberry Pi.
- Select Upstream DNS Provider: You can choose public DNS providers like Google, Cloudflare, or OpenDNS.
-
Admin Interface: After installation, you can access Pi-hole’s web interface by navigating to
http://<your_pi_ip_address>/adminin your browser. This is where you can manage ad-blocking settings and monitor statistics.
Step 3: Configure Your Router
-
Set DNS Settings: Log into your router and change the DNS settings to point to your Raspberry Pi’s IP address. This ensures that all devices on your network use Pi-hole for DNS queries.
-
Reboot Your Devices: To finalize the changes, restart your router and connected devices.
Who This Is For
- Tech Enthusiasts: If you enjoy tinkering with tech and want a personal project that enhances your home network.
- Families: If you have young kids who are constantly exposed to ads, this setup can create a cleaner browsing experience.
- Frequent Browsers: For anyone tired of nuisance ads while browsing or streaming.
Who Should Skip This
- Casual Users: If you’re looking for a quick solution without hassle, there are simpler browser-based ad blockers.
- Budget-Conscious Individuals: While costs are relatively low, the time spent on setup may not be worth it if you aren’t interested in DIY projects.
Potential Drawbacks
- Initial Setup Complexity: For those unfamiliar with networking, initial setup can be a bit overwhelming.
- Lack of Support for Some Sites: Certain sites may not function correctly with ad blocking (e.g., sites that require ads for revenue).
- Maintenance: You will need to keep your Raspberry Pi updated to ensure security and plugin compatibility.
Monitoring and Customization
Once you’re set up, you might want to customize your Pi-hole installation further. Take a look at the following options:
- Whitelist and Blacklist: Manage domains that should always or never show ads.
- Statistics: Use the Pi-hole admin interface to view stats on blocked ads.
- Additional Tools: Plugins can extend the functionality of your Pi-hole, providing even more control over how your network operates.
Conclusion
Setting up a Raspberry Pi to block ads is not just about eliminating irritation; it’s about taking control of your digital space. For about $50 and a bit of your time, you can enhance your everyday internet experience. After your Pi-hole is up and running, you’ll see significantly fewer ads across all devices on your network.
If you’re looking for a DIY project that pays off in comfort and contentment, setting up Pi-hole on your Raspberry Pi is your best bet. Go ahead and reclaim your browsing experience!