How to Use Raspberry Pi as a VPN: Your Complete Guide
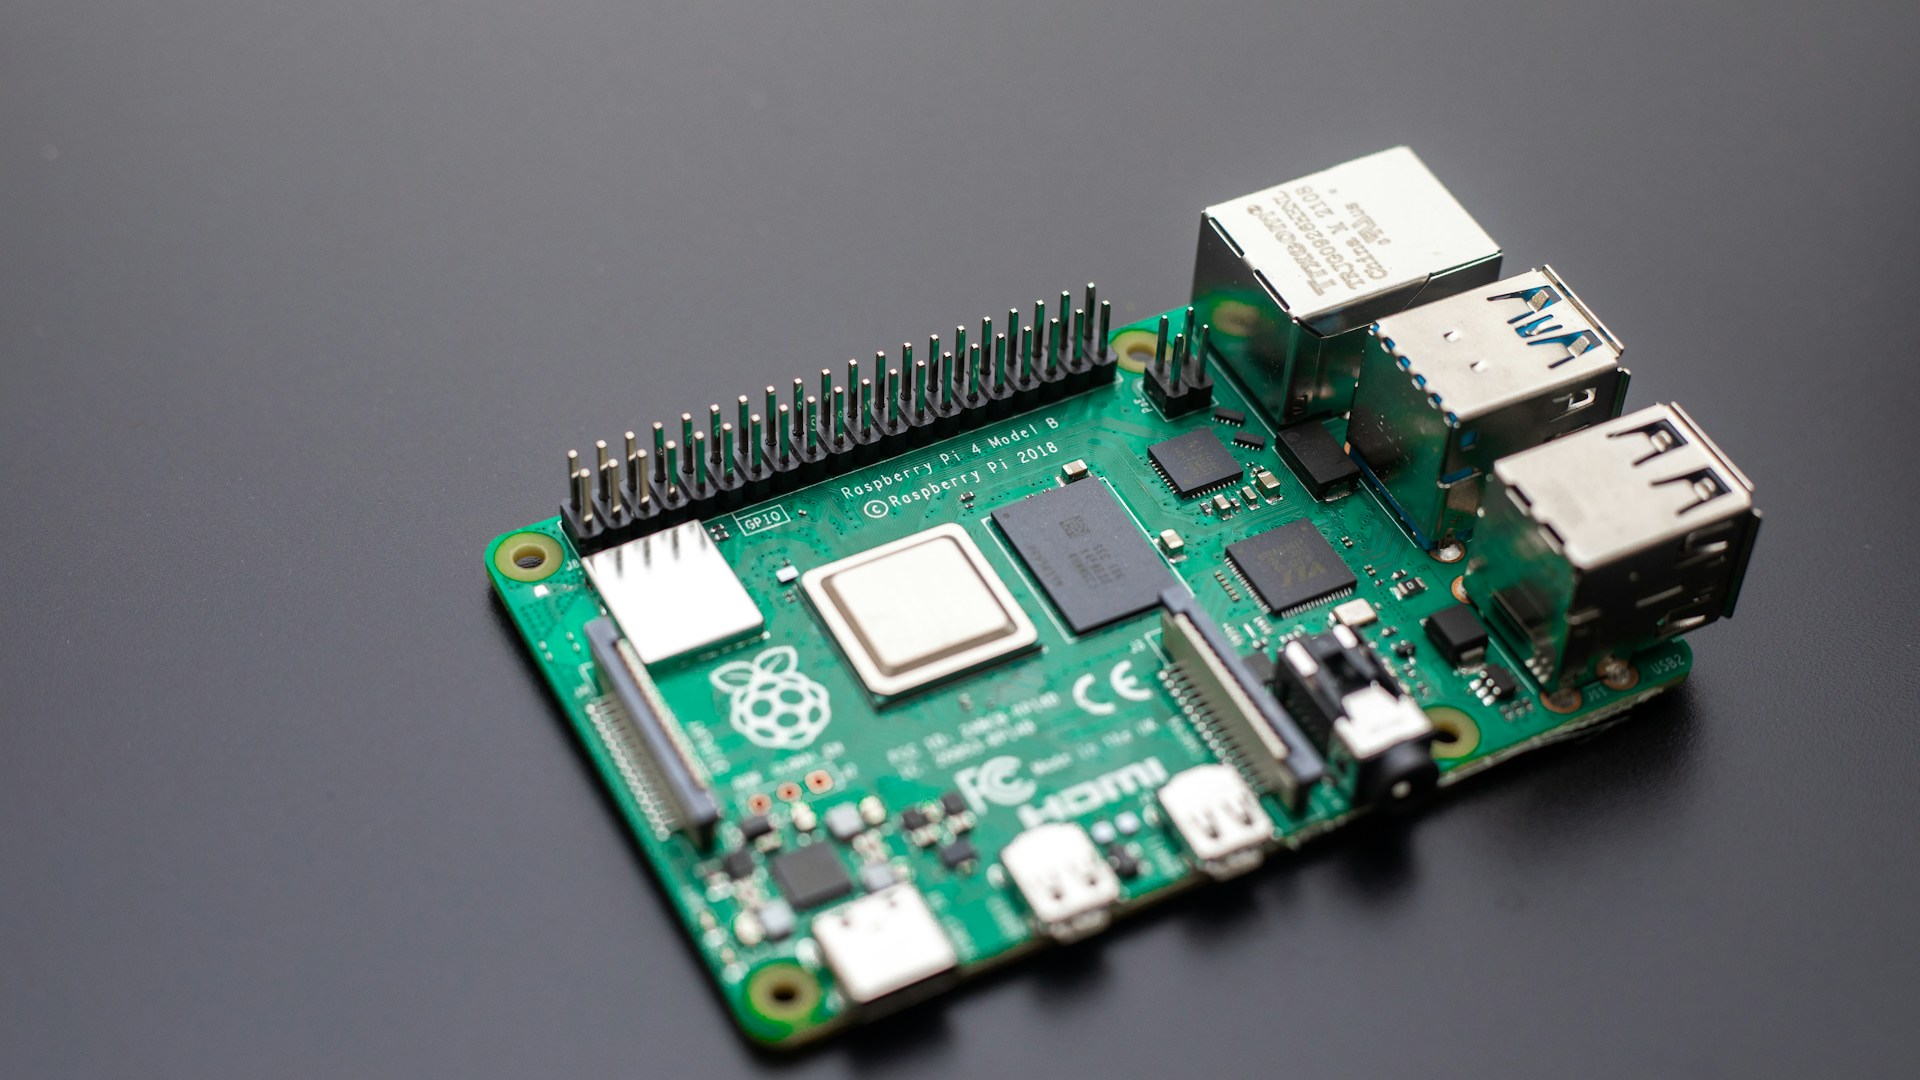
Table of Contents
Introduction
If you’re looking for a robust way to secure your online presence without breaking the bank, setting up a Raspberry Pi as a VPN server is one of the smartest moves you can make. This setup not only protects your privacy but allows remote access to your home network, so you can surf the web securely.
Bottom Line: The Raspberry Pi 4 Model B is the best choice for creating a VPN server due to its power and efficiency, typically priced around $55 for the 2GB version. If you’re committed to enhancing your online security, setting up a VPN on this microcomputer is the way to go.
Why Use a Raspberry Pi as a VPN?
The Raspberry Pi provides an affordable and versatile solution for DIY enthusiasts looking to set up their own VPN (Virtual Private Network). Unlike commercial VPN services that charge monthly fees (ranging from $5 to $15), using a Raspberry Pi means you’re in control of your data without recurring costs.
In general, people often think they are safe browsing their favorite websites; however, using public Wi-Fi can expose sensitive information. A VPN encrypts your internet connection, ensuring your personal data is kept under wraps.
Who This Is For
- DIY Enthusiasts: If you love tinkering with technology, setting up a VPN on Raspberry Pi is a fulfilling project.
- Frequent Travelers: Perfect for professionals who travel often and need a secure method to access home networks.
- Privacy Advocates: Ideal for anyone concerned about data privacy and wants to avoid third-party VPN providers.
Who Should Skip This
- Casual Users: If you just need basic online security and don’t want to deal with technical setups, a commercial VPN service may suit you better.
- Non-Technical Users: Users who are uncomfortable with command-line interfaces or networking might find this setup daunting.
Step-by-Step Guide to Setting Up Your Raspberry Pi as a VPN
Hardware Required
- Raspberry Pi - The 4 Model B is recommended for better performance ($55).
- MicroSD Card - At least 16GB, ideally with Class 10 speed ($10).
- Power Supply - A 5V 3A USB-C power adapter ($10).
- Network Connection - Either an Ethernet cable or onboard Wi-Fi.
Software Requirements
- Raspberry Pi OS - The latest version, which you can flash onto the MicroSD card.
- OpenVPN - A free VPN software that’s effective and widely supported.
Installation Steps
-
Set Up Raspberry Pi OS
- Download the Raspberry Pi Imager from the official site.
- Flash the OS onto your MicroSD card, insert it into your Raspberry Pi, and boot it up.
- Follow the on-screen instructions to set up the OS, including connecting to your Wi-Fi or ethernet.
-
Update Your Pi
- Open the terminal and run:
sudo apt update
sudo apt upgrade
- Open the terminal and run:
-
Install OpenVPN
- Install OpenVPN with the command:
sudo apt install openvpn
- Install OpenVPN with the command:
-
Download VPN Configuration Files
- If you’re using a commercial VPN, download their OpenVPN configuration files. If you’re going server-to-device, you’ll need to set up your own server configurations.
-
Configure the VPN
- Place the downloaded
.ovpnfiles into the/etc/openvpndirectory:sudo cp ~/Downloads/*.ovpn /etc/openvpn/
- Place the downloaded
-
Start OpenVPN
- You can start the VPN with:
sudo openvpn --config /etc/openvpn/yourfile.ovpn
- You can start the VPN with:
-
Check Your VPN Status
- To ensure your VPN is running, use:
ifconfig - Look for the tun0 interface, which confirms that your VPN is active.
- To ensure your VPN is running, use:
Tips for Smooth Operation
- Setup a Static IP: Ensure your Raspberry Pi has a static IP. You can set this in your router settings.
- Access from Outside: If you want to access your Pi VPN from outside your home, you’ll need to set port forwarding on your router for UDP/1194 (default OpenVPN port).
- Security Measures: Don’t forget to secure your Raspberry Pi with a strong password and consider enabling the firewall with
ufw.
Performance and Limitations
While the Raspberry Pi is excellent for basic tasks, it does have limitations. The VPN performance will depend on your internet speed and the power of your Raspberry Pi. If you have multiple devices accessing the VPN simultaneously, you may notice a slowdown.
Drawback: It’s not suitable for high-bandwidth activities like streaming HD videos or gaming due to its limited processing power compared to dedicated VPN hardware.
| Feature | Raspberry Pi 4 Model B | Commercial VPN |
|---|---|---|
| Price | $55 | $5 - $15/month |
| Setup Complexity | Moderate | Easy |
| Privacy Control | High | Moderate |
| Bandwidth Limitation | Yes | No |
| Device Support | Custom | Multiple |
Final Recommendation
Setting up a Raspberry Pi as a VPN is definitely worthwhile for those who value privacy and control over your online activities. With the Raspberry Pi 4 Model B being the standout option, you’re looking at an investment that pays off in data security and cost savings in the long run.
Plus, once you’ve tackled this project, you’ll gain skills that can be applied to other tech projects around your home. So go ahead, set up your Raspberry Pi VPN, and enjoy secure browsing with peace of mind.