How to Use a Soldering Tool: A Comprehensive Guide for Makers
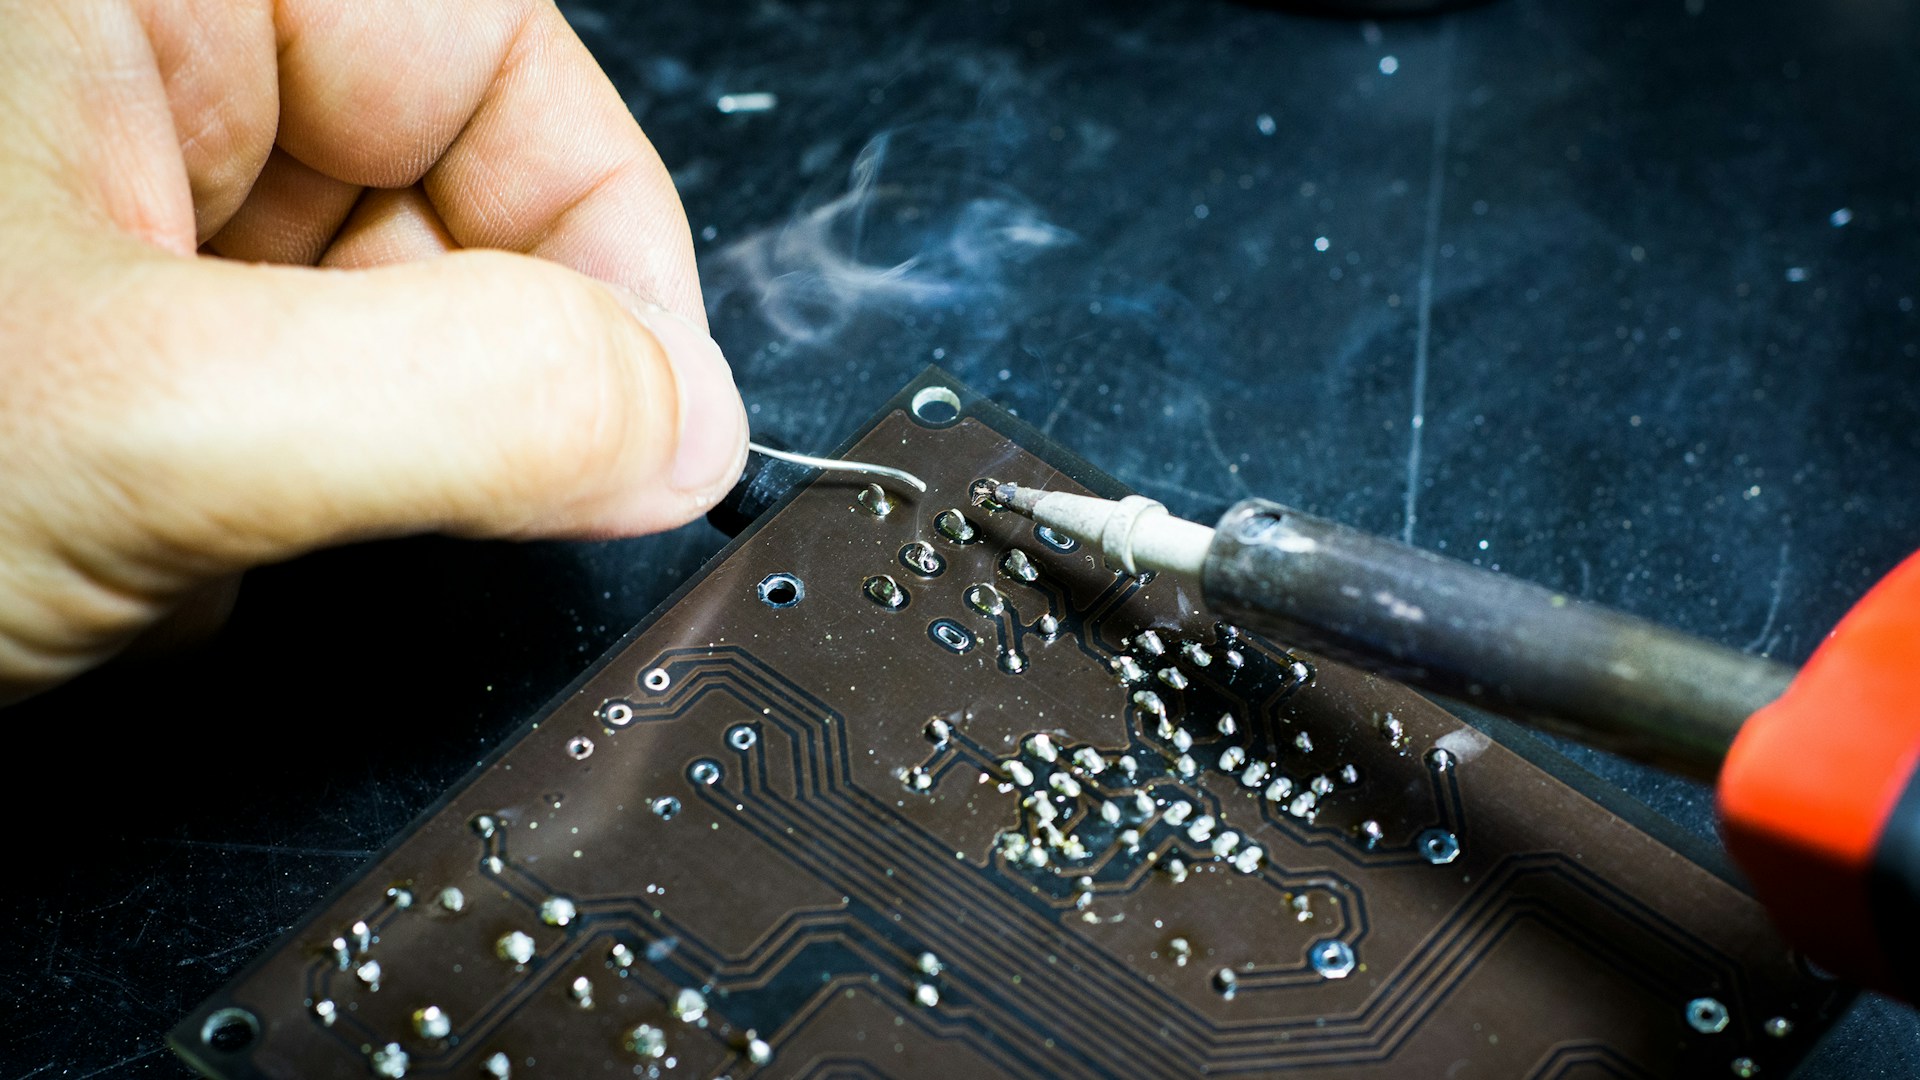
Table of Contents
Introduction
If you’re a maker looking to dive into electronics, mastering the soldering tool is essential. This practical guide will have you soldering like a pro, whether you’re building circuits, repairing gadgets, or creating custom projects.
Prerequisites / What You Need
Tools:
- Soldering Iron: A reliable 30–60W soldering iron is ideal for most electronics projects.
- Solder: Use rosin-core solder around 0.7–1.0 mm diameter for electronics.
- Soldering Iron Stand: Keeps your hot iron safe when not in use.
- Wire Cutters & Strippers: For preparing wires and components.
- Tweezers: Handy for holding small components.
- Soldering Flux: Not always necessary but can improve solder adhesion.
- Safety Goggles: Protect your eyes from solder splashes.
Skill Level:
Beginner – No prior experience is required, but patience is key.
Time Estimate:
Expect to spend 60–90 minutes for a basic project.
Step-by-Step Instructions
1. Set Up Your Workspace
Action: Organize your tools on a clean, sturdy surface, and ensure good lighting. Why It Matters: A tidy workspace minimizes distractions and safety hazards. Common Mistake: Working in cluttered or poorly lit areas can lead to mistakes or accidents.
2. Heat Up the Soldering Iron
Action: Plug in your soldering iron and set it to about 350°C (662°F). Wait 5–10 minutes for it to fully heat. Why It Matters: A properly heated iron ensures that the solder melts effectively. Common Mistake: Using an iron that’s too cool leads to weak joints; too hot can damage components.
3. Prepare Your Components and Board
Action: Strip the ends of your wire or leads, about 1/4 inch, and insert them into the holes of your circuit board. Why It Matters: Clean connections are crucial for reliable electronics. Common Mistake: Not stripping enough insulation can prevent solder flow, while stripping too much can cause shorts.
4. Apply Flux (Optional)
Action: If desired, apply a small quantity of soldering flux on the area where you’ll solder. Why It Matters: Flux helps remove oxidation and allows solder to flow better. Common Mistake: Overusing flux can create a mess. Just a small dab is usually sufficient.
5. Soldering the Joint
Action: Touch the tip of the soldering iron to the joint for a second or two, then feed in solder until it flows around the connection. Why It Matters: This ensures a good electrical connection. Common Mistake: Applying solder too soon can cause it to bead up or fall off the joint.
6. Remove the Soldering Iron
Action: Pull the solder away, then quickly remove the iron. Why It Matters: This prevents excess heat from damaging the joint. Common Mistake: Dragging the iron away with solder still in contact can create a cold joint.
7. Inspect the Joint
Action: Look for a shiny, volcano-shaped solder joint. It should not be dull or have holes. Why It Matters: A good joint is both electrically and mechanically sound. Common Mistake: Not inspecting can lead to unnoticed defects that might cause circuit failures later on.
8. Clip Excess Leads
Action: Use wire cutters to trim any excess lead protruding from the joint. Why It Matters: This keeps your project neat and reduces the chance of shorts. Common Mistake: Forgetting to cut leads can lead to accidental short circuits when the board is powered.
9. Clean Up
Action: Unplug your soldering iron and let it cool down. Clean the tip with a damp sponge or brass wool. Why It Matters: A clean tip ensures better performance for future soldering. Common Mistake: Not cleaning the tip can lead to corrosion and poor soldering performance over time.
Troubleshooting Tips
- If Solder Doesn’t Stick: Ensure the surfaces are clean. Use flux to improve adhesion.
- If You Get a Cold Joint: Reheat the joint until the solder flows again, ensuring a strong connection.
- If Solder Beads Up Instead of Flowing: Check the temperature of your soldering iron; it may be too cool.
- If Components Overheat: Move quickly when soldering. Consider using a heat sink on sensitive components to absorb excess heat.
- If There’s Excess Solder: Use solder wick or a desoldering pump to remove the excess solder from the joint.
Next Steps
Once you feel confident with your soldering technique, consider progressing by tackling more complex projects. A great next step is creating your own LED blinking circuit using Arduino. This will not only enhance your soldering skills but also give you a rewarding project to showcase your newfound expertise.