How to Use a Soldering Iron Properly: A Practical Guide
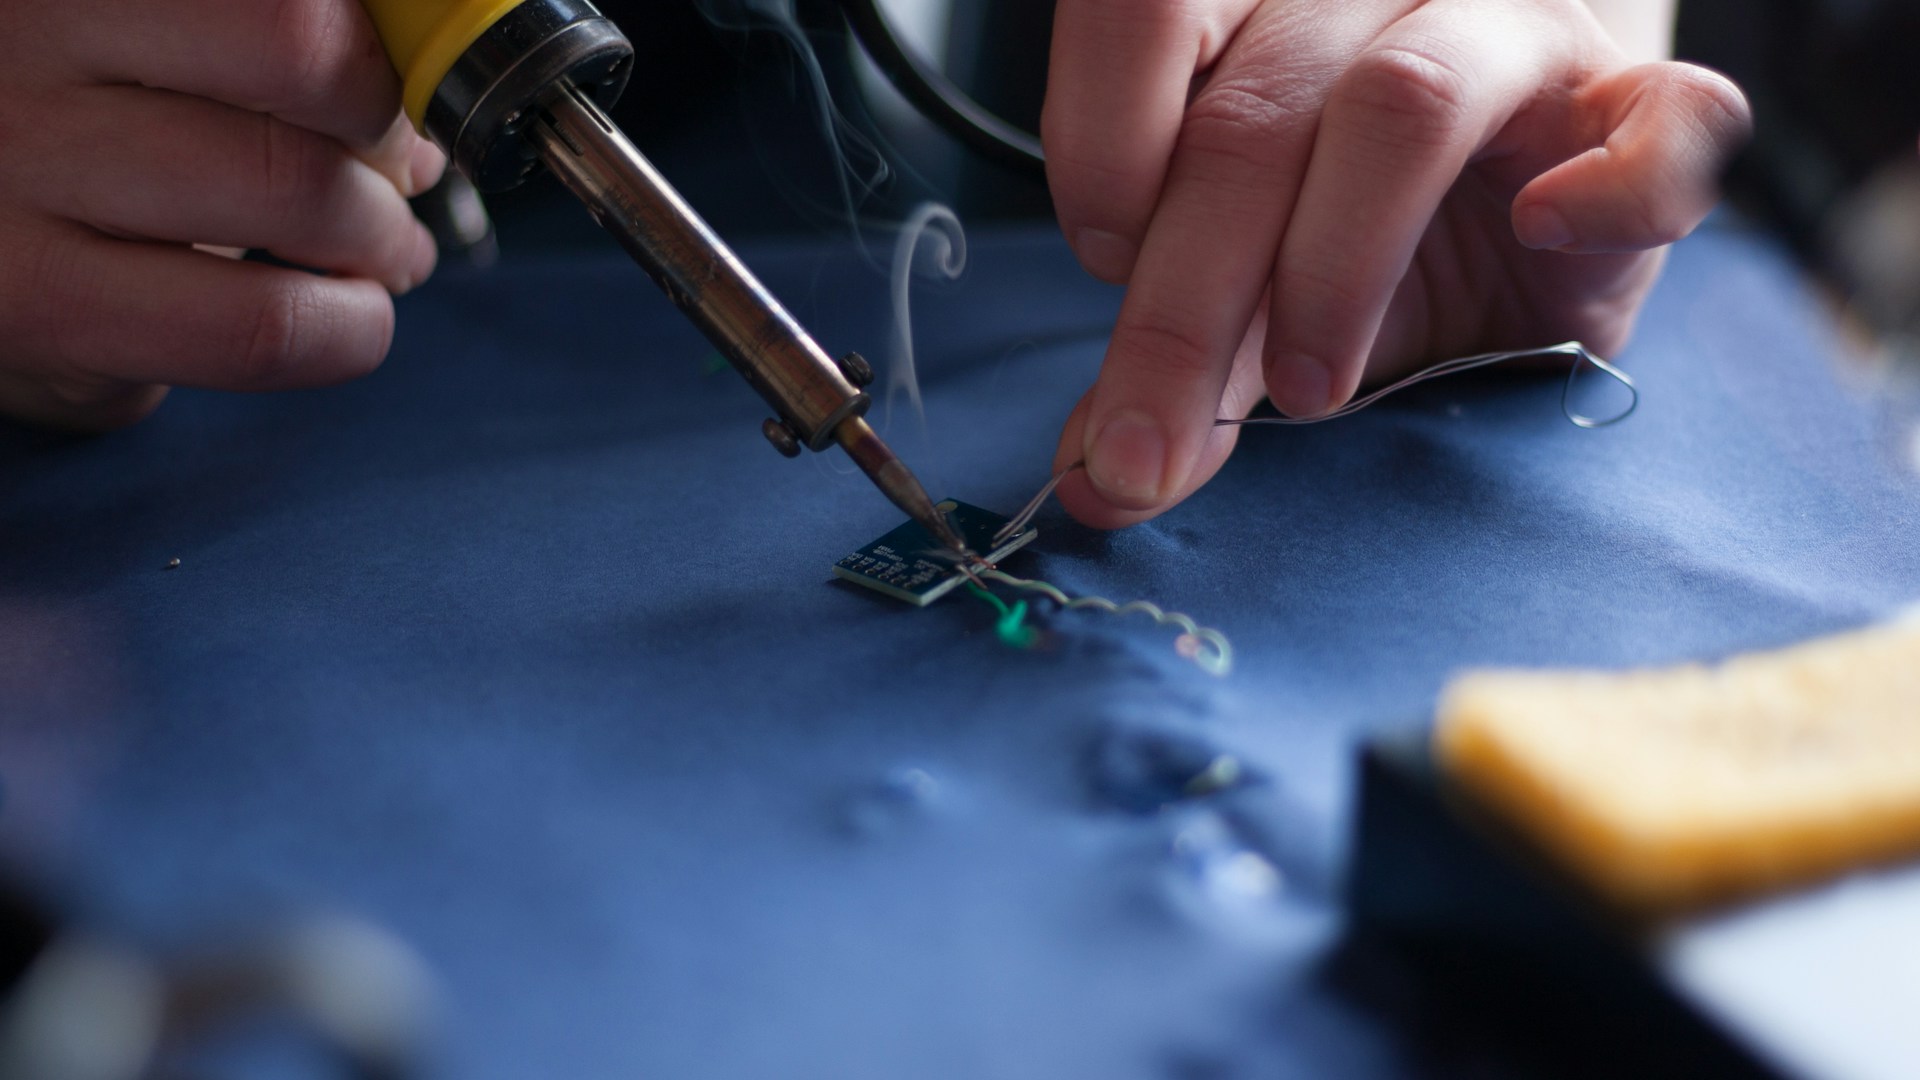
Table of Contents
Introduction
If you’re a budding DIY enthusiast looking to assemble electronic projects or repair circuit boards, mastering the use of a soldering iron is essential. This guide will equip you with the skills to solder effectively, avoid common pitfalls, and help you become more confident in your electronics projects.
Prerequisites / What You Need
-
Tools Required:
- A quality soldering iron (preferably 25W to 60W)
- Solder (sn63/pb37 is standard for beginners)
- Soldering iron stand or holder
- Wire cutters/strippers
- Safety goggles
- Damp sponge or brass sponge for cleaning the tip
- Optional: heat-resistant mat
-
Skill Level: Beginner
-
Time Estimate: 1-2 hours (including setup and practice)
Step-by-Step Instructions
-
Set Up Your Workspace
- Action: Choose a well-ventilated area, organize your tools, and lay down a heat-resistant mat.
- Why It Matters: A cluttered or poorly ventilated space can lead to accidents. Proper setup enhances focus and safety.
- Common Mistake: Overlooking ventilation can cause inhalation of fumes. Always solder in an open area.
-
Prepare Your Soldering Iron
- Action: Plug in the soldering iron and allow it to heat up for 5-10 minutes. Clean the tip with a damp sponge or brass sponge.
- Why It Matters: A clean tip improves heat transfer and prevents contamination, ensuring a better solder joint.
- Common Mistake: Starting to solder with a dirty tip can lead to poor connections.
-
Select and Cut Your Wires
- Action: Use wire cutters to trim wires to the desired length for your project. Strip 1/4 inch of insulation from each end.
- Why It Matters: Properly prepared wires ensure good electrical contact and soldering effectiveness.
- Common Mistake: Stripping too much insulation can weaken the wire connection.
-
Tin the Soldering Iron Tip
- Action: Melt a small amount of solder onto the iron tip after cleaning it, allowing the solder to coat the tip.
- Why It Matters: Tinning helps with heat transfer and prevents oxidation of the soldering iron tip.
- Common Mistake: Skipping this step results in poor soldering performance.
-
Join Wires or Components
- Action: Position the wires or components to be soldered. Heat the junction with the soldering iron, then feed solder into the joint until it flows around it.
- Why It Matters: Proper heat application ensures the solder flows and bonds the connection securely.
- Common Mistake: Not holding the iron long enough often leads to cold solder joints, which are weak.
-
Remove Heat and Allow to Cool
- Action: Remove the soldering iron and allow the joint to cool for a few seconds. Do not move the joint while cooling.
- Why It Matters: Movement can cause the solder joint to be uneven or create cracks.
- Common Mistake: Touching the joint while it cools can lead to a bad connection.
-
Inspect Your Work
- Action: After cooling, visually inspect the solder joint. It should be shiny and have a concave shape.
- Why It Matters: A proper inspection ensures the strength and reliability of the solder joint.
- Common Mistake: Ignoring inspection can mean missing a flawed solder joint that might fail later.
Troubleshooting Common Issues
-
If the Solder Doesn’t Stick:
- Do This: Clean the surfaces to be soldered and ensure they’re properly heated before applying solder.
-
If the Joint Appears Dull or Grainy:
- Do This: This indicates a cold solder joint. Reheat the joint and apply fresh solder to remelt and improve the connection.
-
If the Solder Forms a Ball Instead of a Nice Fillet:
- Do This: This may indicate insufficient heat. Ensure the soldering iron is adequately heated and adjust the timing to apply solder.
-
If There’s Excess Solder:
- Do This: Use a solder wick to soak up the excess solder or desoldering pump while the solder is still melted.
-
If the Soldering Iron Tip is Oxidized:
- Do This: Reclean the tip thoroughly with a damp sponge, and apply some solder to tin the tip again.
Optional: Variations and Next Steps
Once you’ve practiced basic soldering skills, consider these next steps:
-
Work on a Simple Circuit Board: Try soldering an LED circuit to apply your skills in a more complex environment.
-
Dive into Desoldering: Understanding how to undo soldered connections is equally crucial for repairs. Invest in desoldering tools for efficient work.
-
Upgrade Your Tools: As you grow more confident, consider investing in a soldering station with temperature control for better results.
Understanding how to use a soldering iron properly is foundational in DIY electronics. With practice, you’ll find that not only do you improve your soldering skills, but you also enhance your overall enjoyment and capability in the maker community. Now grab your tools, set up your workspace, and get to soldering!