How to Power Your Arduino Projects: The Ultimate Guide
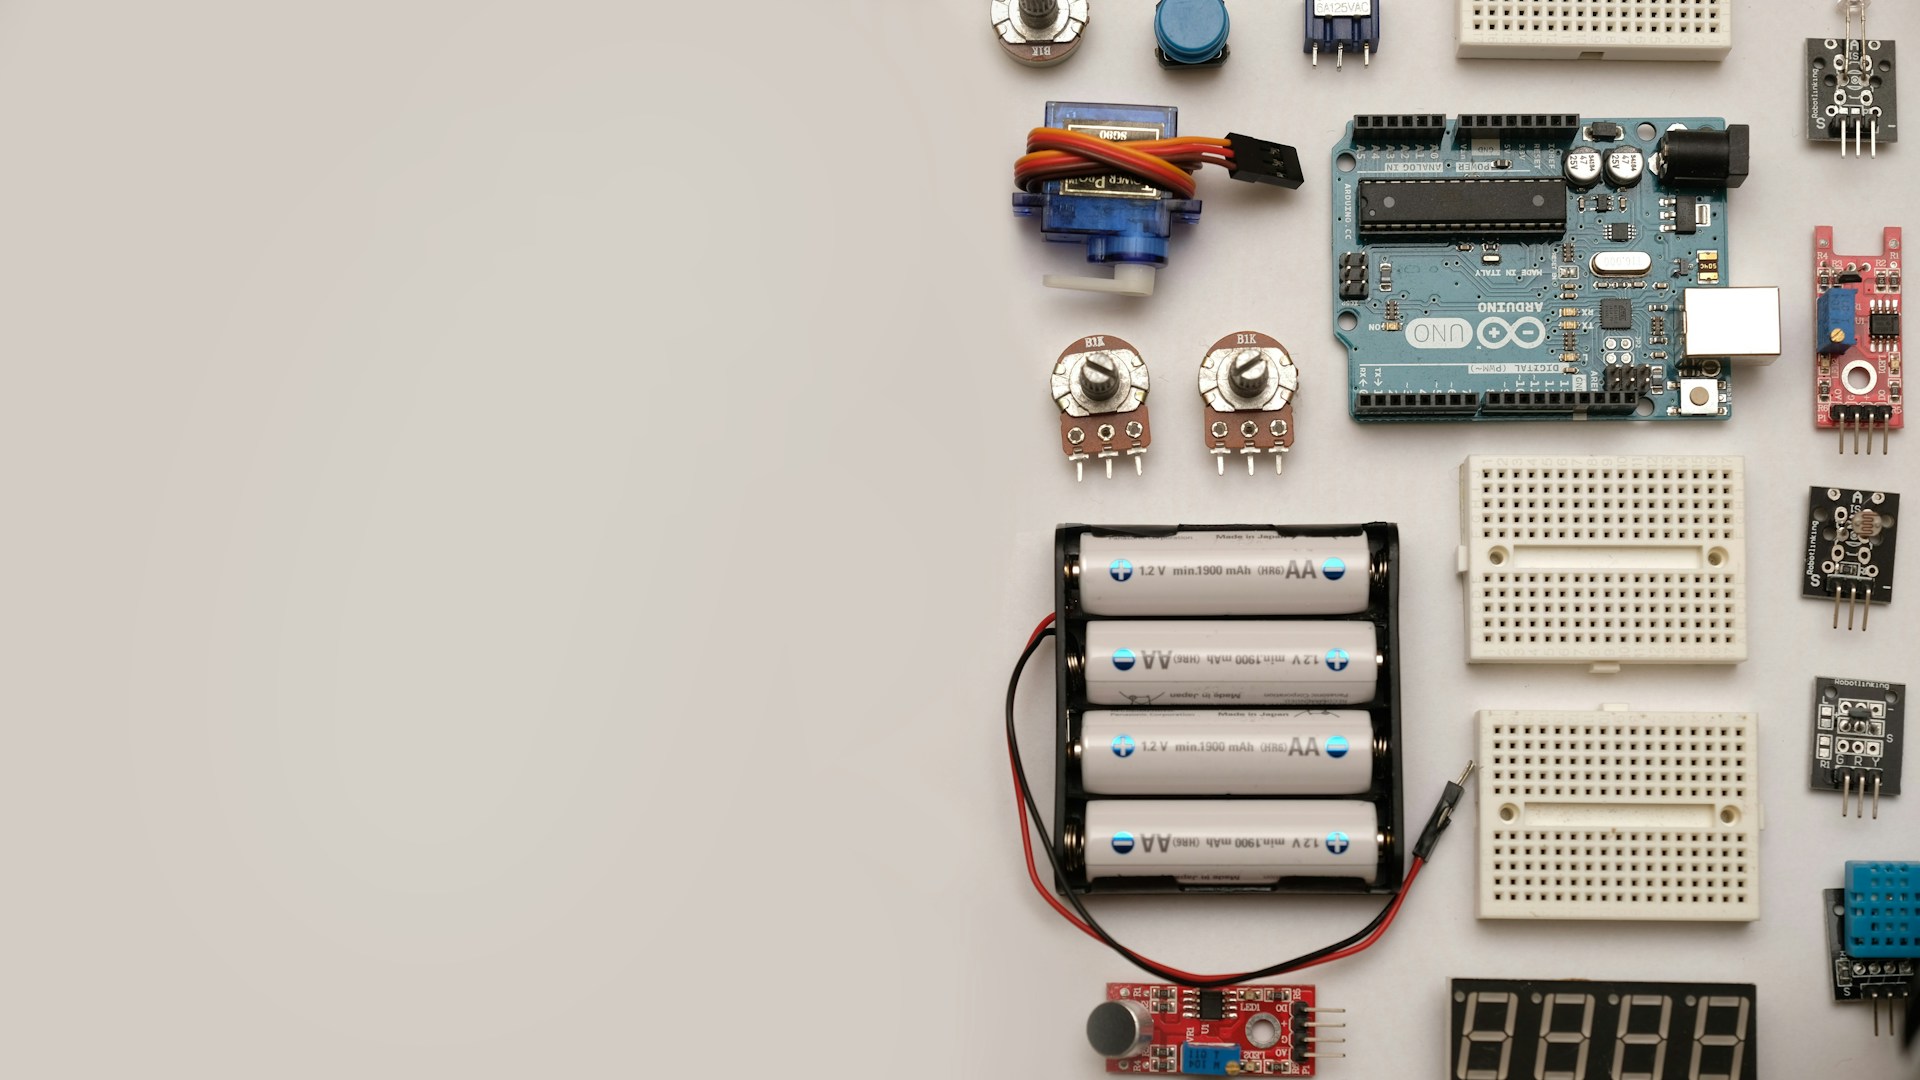
Table of Contents
Introduction
If you’re diving into the world of Arduino projects, one of the first challenges you’ll face is how to power your creations. The right power source can make or break your project, affecting everything from performance to portability. Bottom line: for most Arduino projects, a combination of USB power and battery packs is your best bet, but let’s break down all your options to find what’s right for you.
Types of Power Sources for Arduino
1. USB Power
Using USB is the easiest and most convenient way to power your Arduino. Most Arduino boards, like the Uno and Nano, can easily be powered via a USB connection, allowing for easy programming and instant power.
-
Pros:
- Simplicity: Plug it in and you’re set.
- Power Efficiency: USB provides a stable 5V output.
-
Cons:
- Limited Mobility: Bound by the length of your USB cable.
- Dependence on Power Source: Requires a computer or wall adapter.
2. Battery Packs
For mobile projects, battery packs are essential. Options include AA or AAA batteries, lithium-ion packs, or even lithium polymer (LiPo) batteries.
-
AA Battery Pack:
- Cost: Around $5 for a pack of batteries.
- Output: Approximately 6V (4 x AA).
-
LiPo Battery:
- Cost: Approximately $10 for a 1000mAh battery.
- Output: 3.7V, but needs a boost converter to reach 5V.
Advantages
- Portability: Take your projects anywhere.
- Flexibility: Various sizes and configurations available.
Disadvantages
- Battery Life: Depends on usage; managing and replacing batteries can be a hassle.
- Charging: Some types (like LiPo) require specialized chargers.
3. Wall Adapters
If your project is stationary, a wall adapter is a reliable and consistent power source.
- Typical Specs of Wall Adapters:
- Price: Around $10 to $15.
- Voltage: Commonly 5V (but check your Arduino model).
Benefits
- Continuous Power: No need to worry about draining batteries.
- Ease of Use: Just plug it into an outlet.
Downsides
- Limited Mobility: You’re tethered to a wall.
- Overheating Risks: Low-quality adaptors can pose safety issues.
4. Solar Power
If you want to take your projects off the grid, solar power is a fantastic option.
- Solar Panel Kits:
- Cost: $20 to $50 depending on size and efficiency.
- Output: Typically can generate anywhere from 5V to 12V.
Pros
- Eco-Friendly: Harness renewable energy.
- Off-Grid Possibilities: Perfect for outdoor projects.
Cons
- Variable Output: Performance depends on sunlight.
- Initial Setup Complexity: Requires additional components like charge controllers.
Choosing the Right Power Source
To choose the best option for your project, consider the following factors:
- Project Mobility: If you want it to be mobile, battery power or solar are your best bets.
- Power Requirements: Higher power demands (like motors or sensors) may need a more robust solution, such as a wall adapter or a big battery pack.
- How Long You Need It to Run: If it’s a short burst like testing, USB might suffice, but continuous projects call for batteries or wall power.
Comparison Table of Power Sources
| Power Source | Cost | Typical Output | Use Cases | Pros | Cons |
|---|---|---|---|---|---|
| USB | $0 (cable) | 5V | Testing, prototyping | Easy to use | Not portable |
| AA Battery | $5 | 6V | Mobile projects | Portable | Limited lifespan |
| LiPo Battery | $10 | 3.7V | Robotics, drones | Lightweight, rechargeable | Requires care during use |
| Wall Adapter | $10-$15 | 5V | Stationary installations | Stable, low maintenance | Tethered to an outlet |
| Solar Panel | $20-$50 | 5V-12V | Outdoor installations | Sustainable, off-grid | Weather dependent |
Who This is For
- Hobbyists: If you’re tinkering with Arduino at home and need flexibility, USB and battery packs should be your primary focus.
- Outdoor Enthusiasts: For those looking to create projects like weather stations or plant watering systems outdoors, consider solar panels combined with battery storage.
- Students and Educators: Easy access to power makes USB options ideal for classroom experiences.
Who Should Skip This
- Professional Engineers: If you’re developing a commercial product, you’ll need a much more robust solution and thorough testing of any power system.
- Short-Term Users: If you’re just passing through Arduino projects for a one-off idea, stick with USB for simplicity.
Conclusion
Ultimately, if you’re just starting out, using USB power combined with a battery pack for portable projects is generally your best bet. As you expand and explore more advanced projects, consider integrating a solar option or a wall adapter for stability.
Start experimenting with your choice based on this guide, and you’ll be well on your way to powering your Arduino projects effectively!