How to Paint a Perfect Accent Wall: Step-by-Step Guide
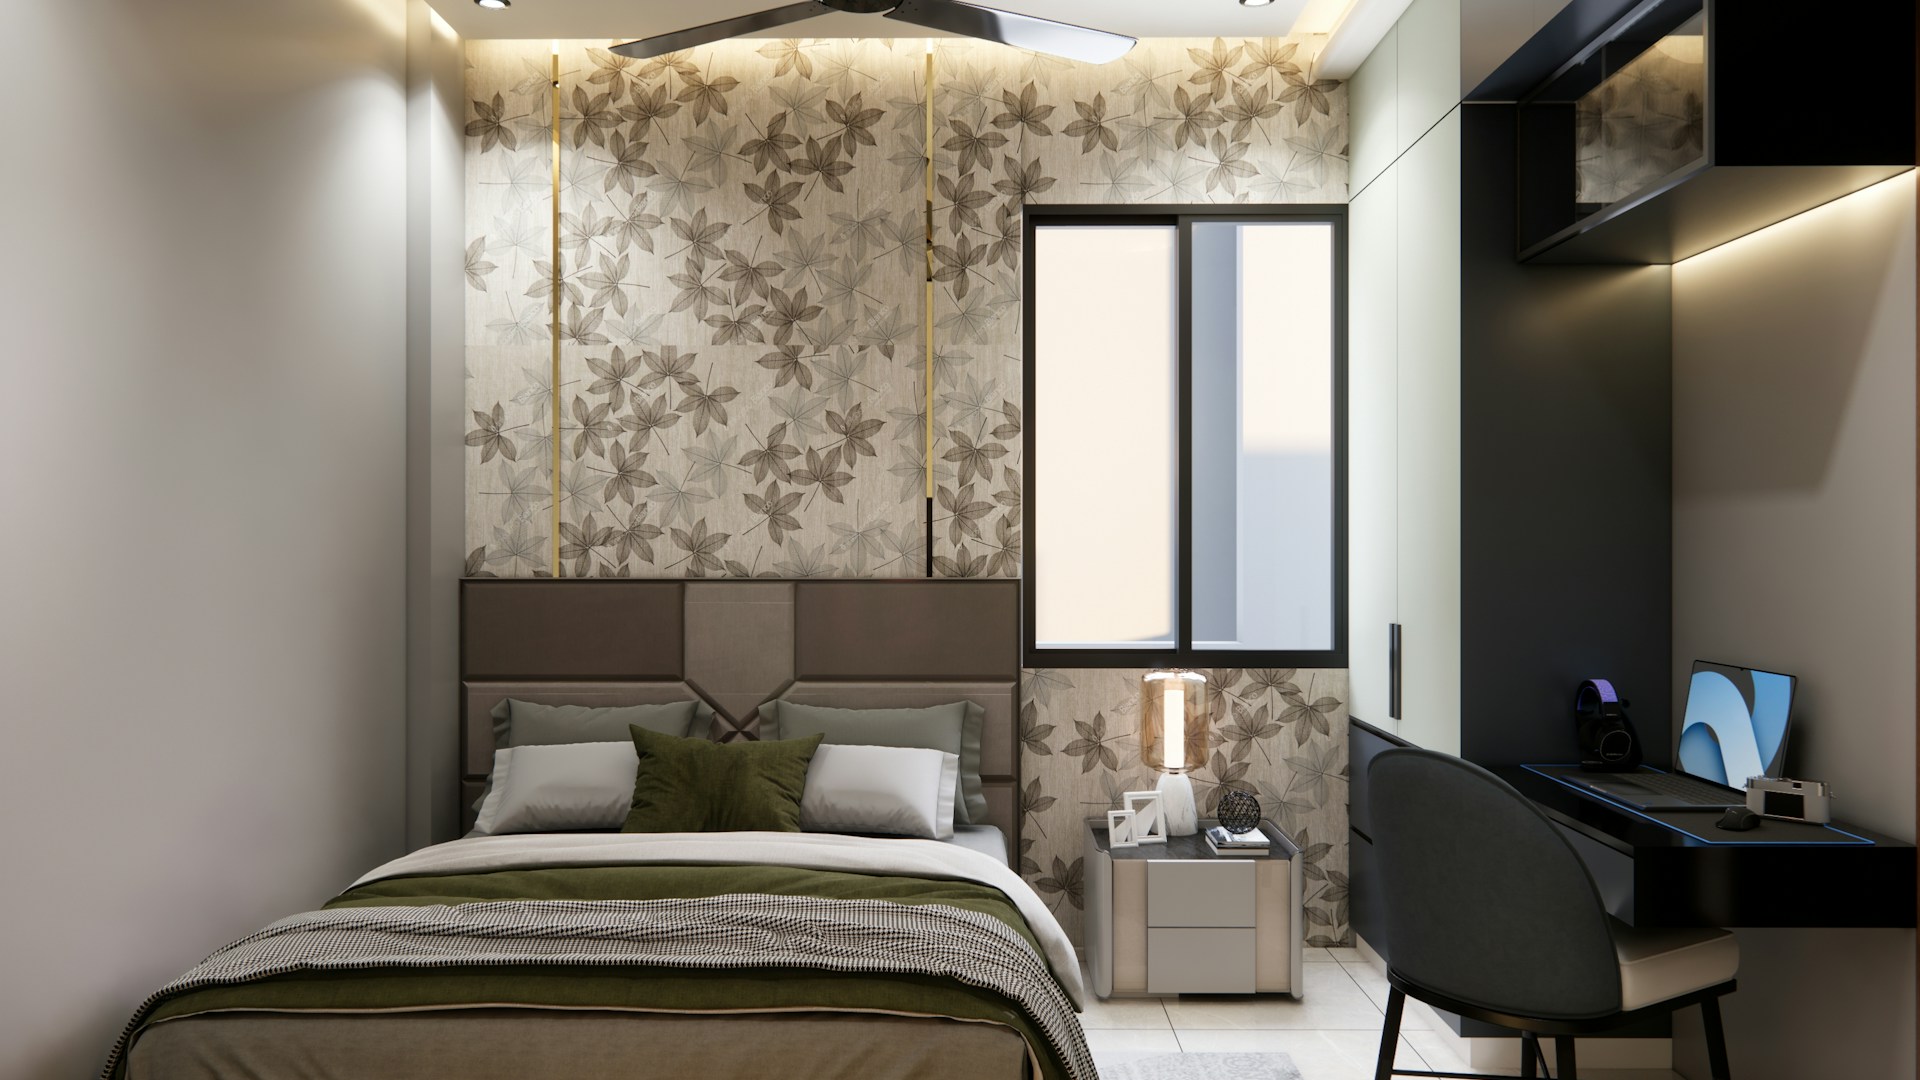
Table of Contents
Choosing the Right Wall
Not every wall deserves the accent treatment. Pick one that naturally draws attention — an architectural feature, a focal point, somewhere the eye lands first.
Bedroom: The wall behind the headboard. Full stop. When you walk into most bedrooms, that’s where your eyes go anyway, and a contrasting color frames the bed the way a statement headboard does.
Home office: The wall behind your desk or the one you stare at during video calls. It signals “this is where work happens” and gives your background some actual personality.
What to skip: walls with three windows and a door crammed into them (the interruptions chop up the color and it just looks messy), and walls that are already doing a lot of structural work in the room’s layout.
Choosing Your Color
Color psychology is real, and paint colors genuinely affect how a room feels across different times of day.
- Deep blues and greens (navy, forest green, teal) are calming and focused — great for bedrooms and offices where you need to actually concentrate.
- Warm neutrals and earth tones (terracotta, warm taupe, dusty clay) feel grounded and cozy without shrinking a small room.
- Dark charcoals and near-blacks create a dramatic, sophisticated look and make lighter furniture pop hard.
- Sage and muted olive greens have had a moment that isn’t ending anytime soon — they hit both natural and modern at once.
The rule that actually works: go at least two to three shades darker or more saturated than the rest of your walls. If you’re painting over warm white, a medium-tone beige “accent” is going to disappear into the wall. Be bold — that’s the whole point.
Tip: Test your color on the actual wall with a swatch at least 12 x 12 inches. Live with it for a full day and check it in morning light, afternoon light, and evening lamp light. Paint looks completely different at 8am versus 9pm.
Tools and Materials
Get everything together before you start. Running to the hardware store mid-project while wet paint is drying on the wall is a bad time.
Painting supplies:
- Paint roller frame (9-inch recommended)
- Roller covers (3/8-inch nap for smooth walls, 1/2-inch nap for textured walls)
- Angled trim brush (2.5-inch)
- Paint tray and liner
- Extension pole for the roller
Prep materials:
- Painter’s tape (ScotchBlue or FrogTape — the cheap stuff bleeds)
- Spackling compound and putty knife
- Fine-grit sandpaper (120–150 grit)
- TSP cleaner or mild dish soap
- Drop cloth or plastic sheeting
- Primer (tinted to match your accent color if possible)
Optional but genuinely useful:
- Paint edger tool for ceiling lines
- Small foam roller for tight spots
- Painter’s plastic for furniture you can’t move
Budget reality check: Plan for $60–$120 USD for a standard bedroom accent wall, covering primer, paint (one quart to one gallon depending on size), and supplies. Don’t cheap out on the paint itself — a mid-tier or premium paint in satin or eggshell finish gives better coverage, better washability, and looks better on the wall. Budget paint saves you $15 and costs you an extra coat.
Prep Work Is Everything
Every professional painter says the same thing: 80% of a great paint job happens before the brush ever touches the wall. This is not an exaggeration.
- Move furniture away from the wall or cover it with drop cloths.
- Remove outlet covers and switch plates; put the screws somewhere you’ll actually find them.
- Hunt down every nail hole, dent, or crack. Fill with spackling compound, let it dry completely, then sand smooth.
- Sand any glossy patches or old texture bumps so the new paint has something to grip.
- Wipe down the entire wall with a damp cloth and TSP cleaner or diluted dish soap. Dust and oils will ruin adhesion. Let it dry fully.
- Apply painter’s tape along the ceiling, baseboards, adjacent walls, and around outlets. Press the tape edge down hard with a putty knife — this is what stops paint from bleeding underneath.
Safety note: When sanding, wear an N95 mask. If your home was built before 1978, test for lead paint before you sand anything — kits are under $10 at any hardware store and take five minutes.
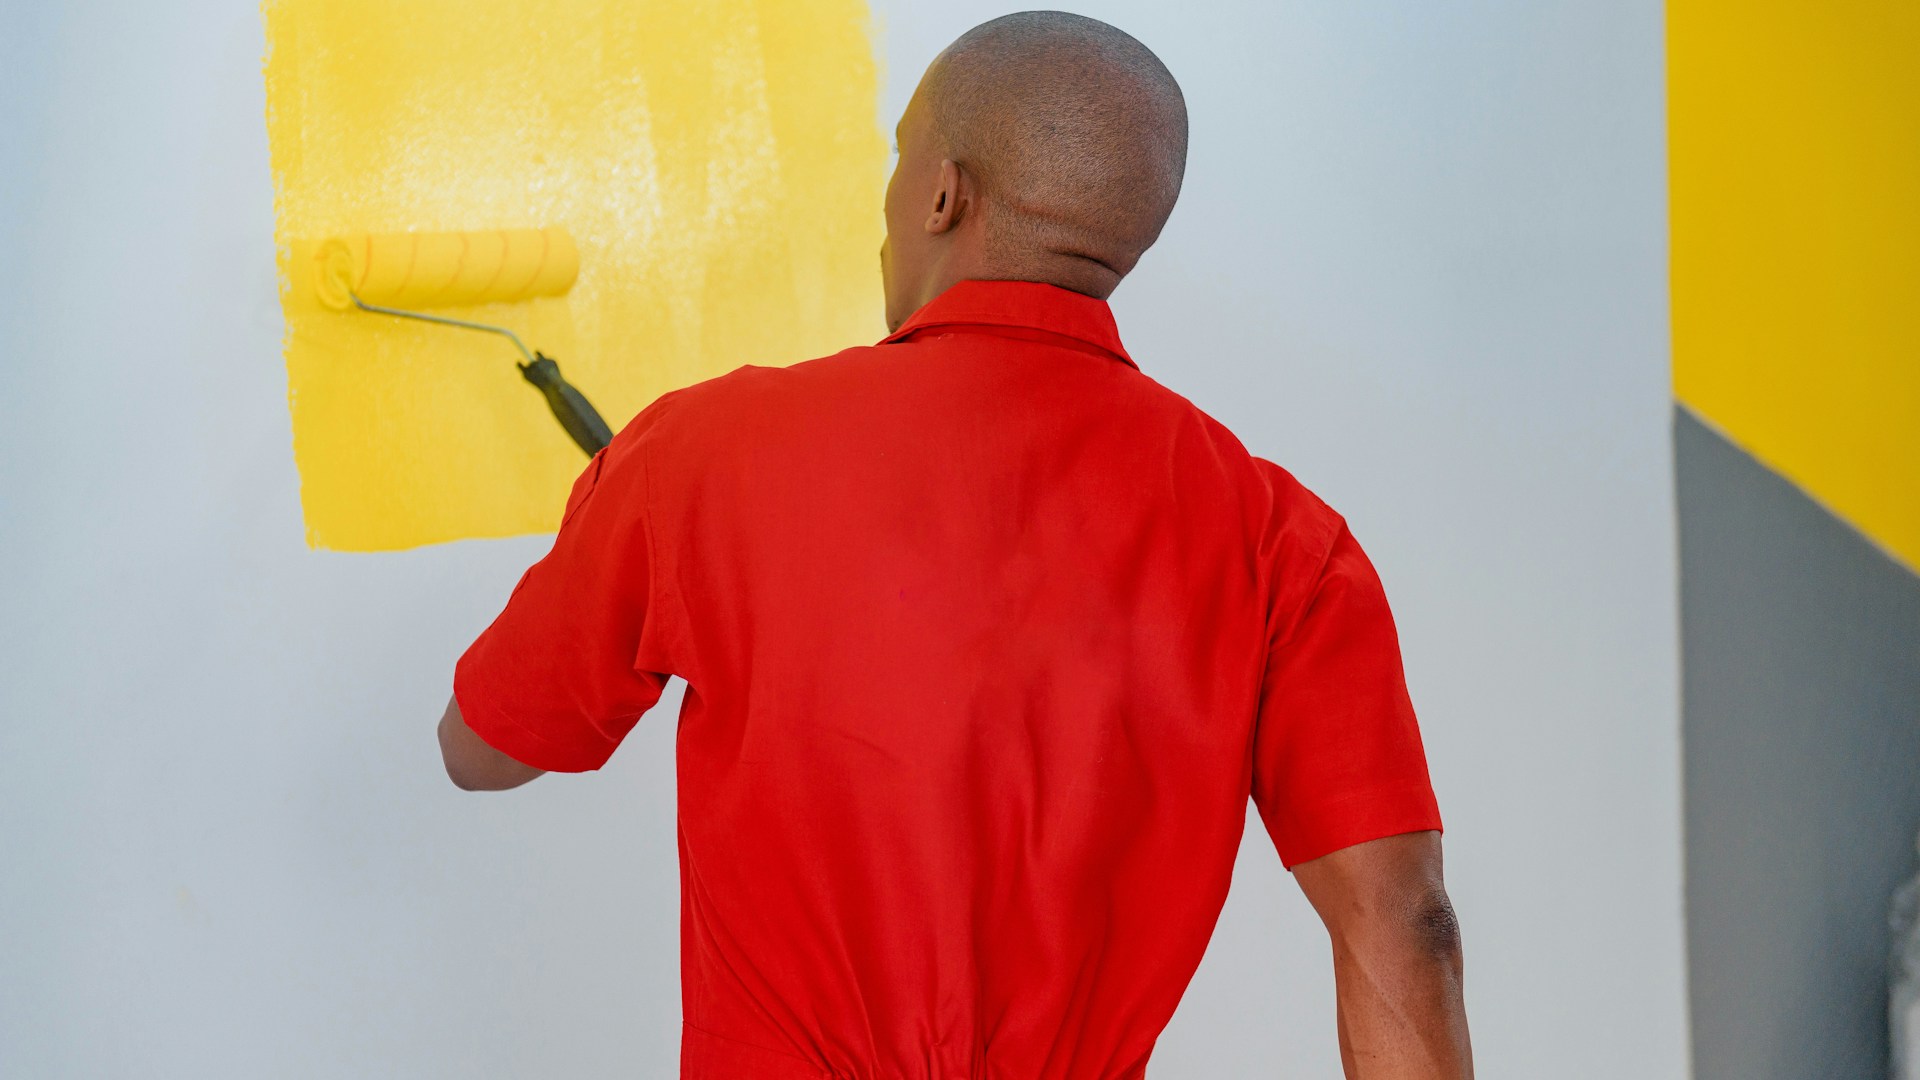 Photo by Ali Mkumbwa on Unsplash
Primer: When and Why
If you’re painting a dark color over a light wall, primer is non-negotiable. Without it, the color will look splotchy, you’ll need three or four coats, and you’ll still probably see the old color as an undertone pulling through.
Get a tinted primer matched to your accent color — most paint stores do this for free. Tinted primer cuts your topcoats from three down to two and makes the final color look accurate instead of muted.
Primer is also the fix for those spackled patches. Patched spots absorb paint differently than the surrounding wall surface, which creates visible dull spots (called “flashing”) in the finished coat. One coat of primer over the patches — or the whole wall — eliminates this.
Use the same roller and brush you’ll use for topcoats. Allow it to dry per the can instructions (usually one to two hours) before painting.
Painting Technique Step-by-Step
Wall is primed. Time to paint.
- Cut in the edges first. Use the angled trim brush to paint a three- to four-inch band along the ceiling, baseboards, and adjacent wall edges. Work in two-foot sections, keep a wet edge. It doesn’t need to be perfectly straight — the tape handles that.
- Load the roller properly. Roll the cover through the paint in the tray, then roll it back and forth on the ridged section to distribute evenly. Saturated but not dripping.
- Use the W or M rolling pattern. Start in the upper part of the wall. Roll a large “W” or “M” shape about three feet wide, then fill it in with parallel strokes without lifting the roller. This distributes paint evenly and prevents lap marks.
- Work in sections top to bottom. Keep a wet edge by overlapping each new section slightly before the previous one dries.
- First coat is coverage, second coat is finish. The first coat will look patchy — that’s normal and expected, not a sign something went wrong. Let it dry fully (check the can for re-coat time, typically one to two hours), then apply the second coat the same way. The difference is dramatic.
- Pull the tape while the final coat is still slightly tacky. At a 45-degree angle, slowly. If the paint dried hard first, score the tape edge with a utility knife before pulling, or you’ll take chunks of paint with it.
Common Mistakes to Avoid
Skipping the primer. Uneven color, more coats, amateur result. Tinted primer is $15–20 and saves more time than it costs.
Leaving the tape on too long. Once the paint dries hard, the tape pulls it off. Pull while tacky.
One thick coat instead of two thin ones. Thick coats sag, drip, and show roller texture. Two thin coats dry flat and even.
Skipping the cut-in step. Rolling right up to the ceiling produces sloppy edges every time. The trim brush is what gives you those clean, sharp lines that make the whole project look professional.
Drying and Curing Time
These are different things and mixing them up damages your finish.
Dry time is when the paint stops being wet to the touch — one to four hours for latex. Safe to apply another coat.
Cure time is when the paint fully hardens to maximum durability — 14 to 30 days. During that window: no scrubbing, no tape, no furniture pressed directly against the wall. Gentle dry wiping is fine, but aggressive cleaning before full cure leaves marks.
Note: Low-VOC and zero-VOC paints often have slightly longer cure times than conventional formulas. Check the manufacturer’s specs.
Design Ideas to Inspire
Once you’ve got the basic technique down, here are a few directions worth exploring:
Geometric patterns: Mask off triangles, diamonds, or a grid with painter’s tape. Paint within the shapes, remove the tape, let the wall color serve as the second tone. Bold and modern, and easier than it looks.
Two-tone horizontal split: Paint the lower half in a dark shade, upper half in a lighter version of the same hue, with a crisp horizontal line separating them (use a level and tape to mark it). Works especially well in rooms with high ceilings.
Limewash or color wash finish: Apply a base coat, then brush on a diluted second color in sweeping strokes for a textured, aged plaster look. Popular in bohemian and Mediterranean-inspired spaces.
Ombre gradient: Blend two related colors — dark at the bottom, lighter at the top — while both are wet, using a dry brush to feather the transition zone. Takes patience but the result is genuinely striking.
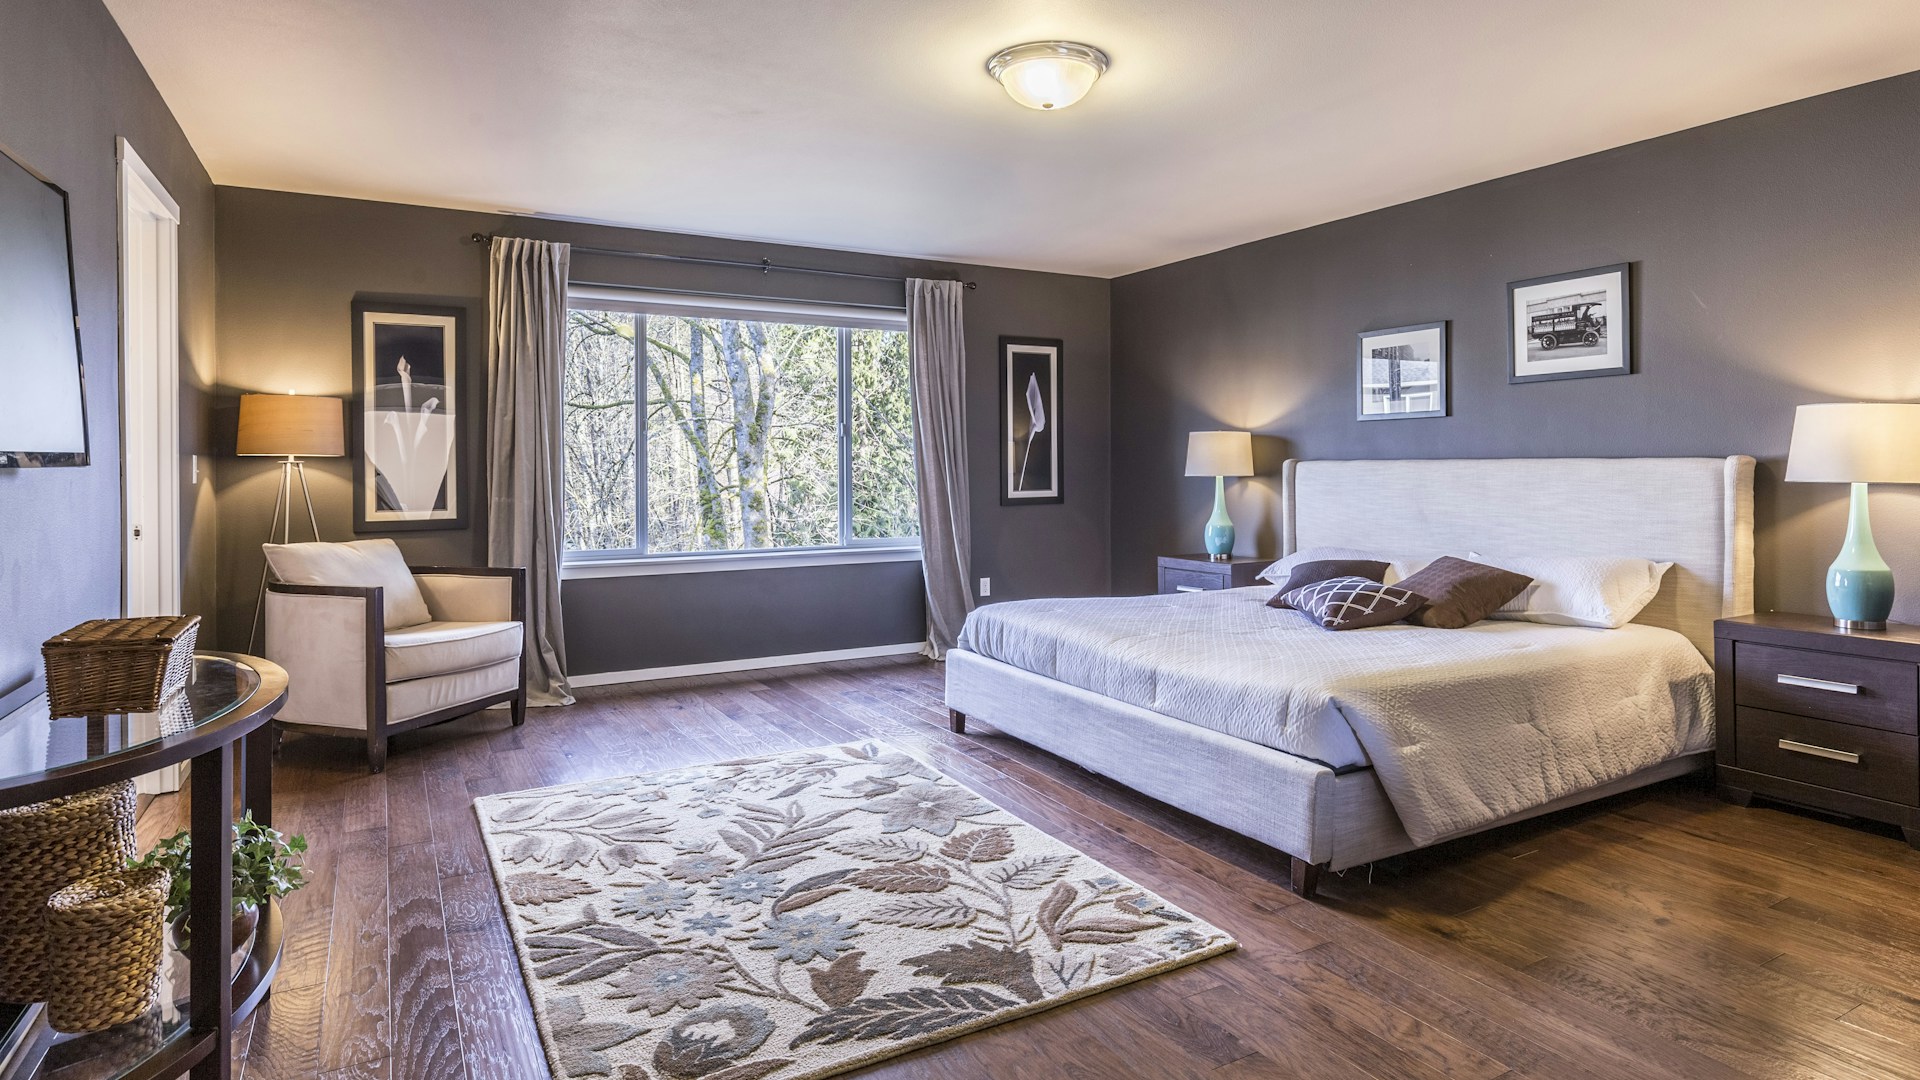 Photo by Francesca Tosolini on Unsplash
Done
One wall, one weekend, a room that looks nothing like it did before. The cost is low, the tools are accessible, and the transformation is immediate.
Pick the wall. Choose the color. Roll up the sleeves. You’ll be amazed what a single can of paint actually does to a room.