How to Make an Arduino Project: A Step-by-Step Guide
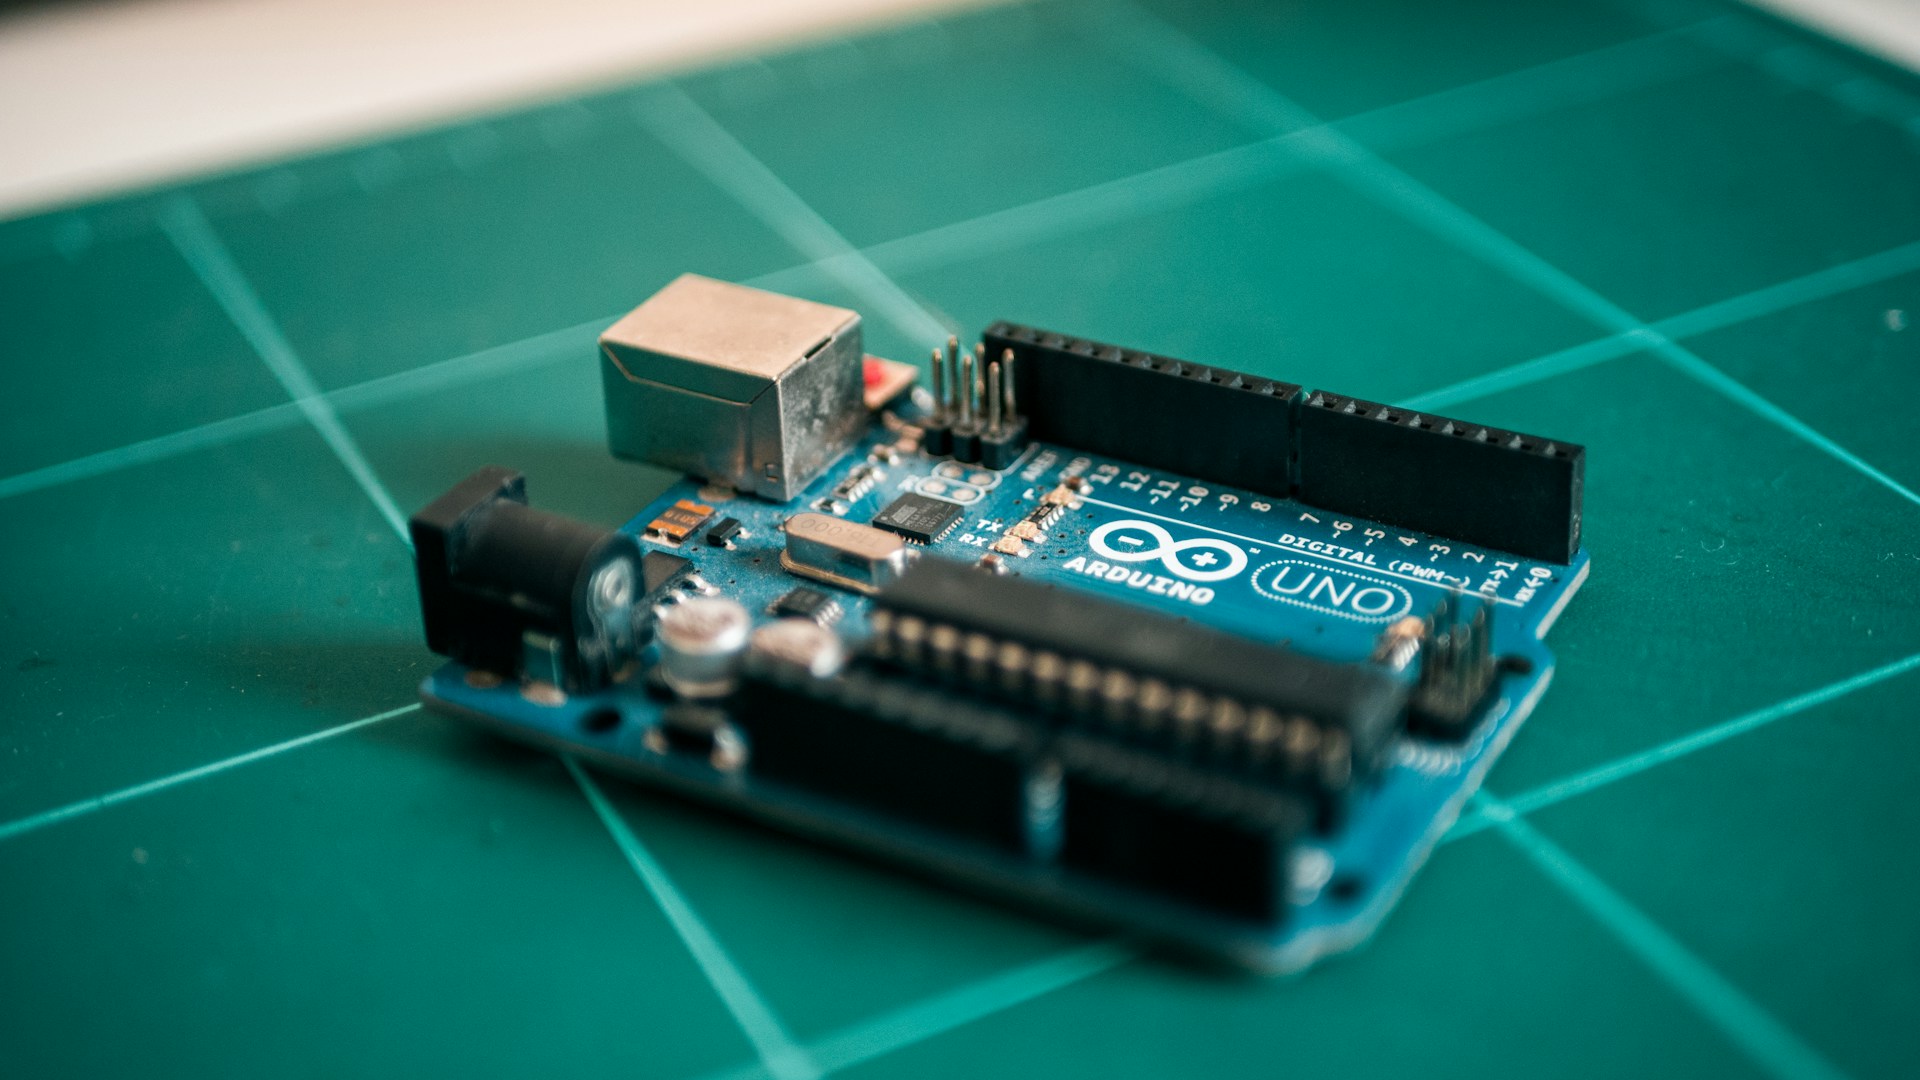
Table of Contents
Introduction
If you’re looking to dip your toes into the world of electronics and programming, learning how to make a project with Arduino is an excellent starting point. The best part? You don’t need to be an expert to create something amazing. Whether you want to build a simple LED circuit or develop a more complex automation system, Arduino provides the flexibility and support to bring your ideas to life.
Bottom Line
To start your Arduino journey, I recommend Arduino Starter Kit for beginners, which typically retails for around $99. It comes with a variety of components and a project book that walks you through 15 creative projects. If you’re serious about DIY electronics, this is the best choice for getting started.
Why Choose Arduino?
Arduino is a platform that combines both hardware and software to create interactive projects. Here are some key reasons why you should consider Arduino:
- Open-source: Arduino hardware and software are open-source, meaning you can modify and enhance them freely.
- Community Support: There’s a large community with countless resources, tutorials, and project ideas available at your fingertips.
- Versatility: From simple LED blinkers to intricate robotics, the applications are vast.
You’ll find Arduino in various applications, including home automation, robotics, sensors, and even wearable tech.
Getting Started with Arduino
What You’ll Need
- Arduino Board: Typically, the Arduino Uno is a great starting point, priced around $25.
- USB Cable: For connecting the board to your computer.
- Breadboard: Useful for prototyping without soldering.
- Jumper Wires: To make connections.
- Components: Depending on your project (LEDs, resistors, sensors, etc.).
Step-by-Step Guide to Your First Arduino Project
Step 1: Setting Up Your Arduino
- Install Arduino IDE: Download the Arduino IDE from the official Arduino website and install it on your computer.
- Connect Your Board: Use a USB cable to connect the Arduino Uno to your computer. Open the IDE and select the correct board and port under the ‘Tools’ menu.
Step 2: Create Your First Project - Blinking LED
-
Gather Components:
- 1 x Arduino Uno
- 1 x Breadboard
- 1 x LED
- 1 x 220-ohm resistor
- Jumper wires
-
Wiring:
- Place the LED on the breadboard.
- Connect the long leg (anode) to a digital pin (e.g., pin 13) on the Arduino using a jumper wire.
- Connect the short leg (cathode) through a resistor to the ground pin on Arduino.
-
Programming:
- Open the Arduino IDE, and type the following code:
void setup() { pinMode(13, OUTPUT); // Set pin 13 as an OUTPUT } void loop() { digitalWrite(13, HIGH); // Turn the LED on delay(1000); // Wait for a second digitalWrite(13, LOW); // Turn the LED off delay(1000); // Wait for a second } -
Upload the Code: Click the upload button in the IDE. If successful, you’ll see the LED blinking!
Expanding Your Knowledge
Once you’ve perfected your blinking LED, countless projects await you. Some ideas include:
- Temperature Sensor: Use an LM35 temperature sensor and Arduino to display temperature readings on your computer.
- Light-Controlled LED: Implement a photoresistor to control LED brightness.
You can find various project ideas and lessons on platforms like Instructables or Arduino Project Hub.
Who This is For
If you are a beginner in electronics, passionate about building things, or interested in coding, Arduino is highly recommended. It’s also suitable for educators looking to introduce coding and electronics concepts in a fun way.
Who Should Skip This
Arduino might not be ideal for those seeking advanced or professional-level projects without stepping through the basics. Also, if you prefer a turnkey solution for specific applications rather than a DIY approach, look elsewhere.
Conclusion
Arduino is an empowering platform that provides endless opportunities for creativity and learning. The Arduino Starter Kit is the best way to kick off your journey, putting you on the path to creating unique electronics projects. Whether you want to build a simple circuit or dive deeper into automation and robotics, you’ll find that Arduino is not just a tool but a gateway to a whole new world of possibilities.
Start building your dream project today!