How to Install a USB Outlet in Your Home Office (Step-by-Step)
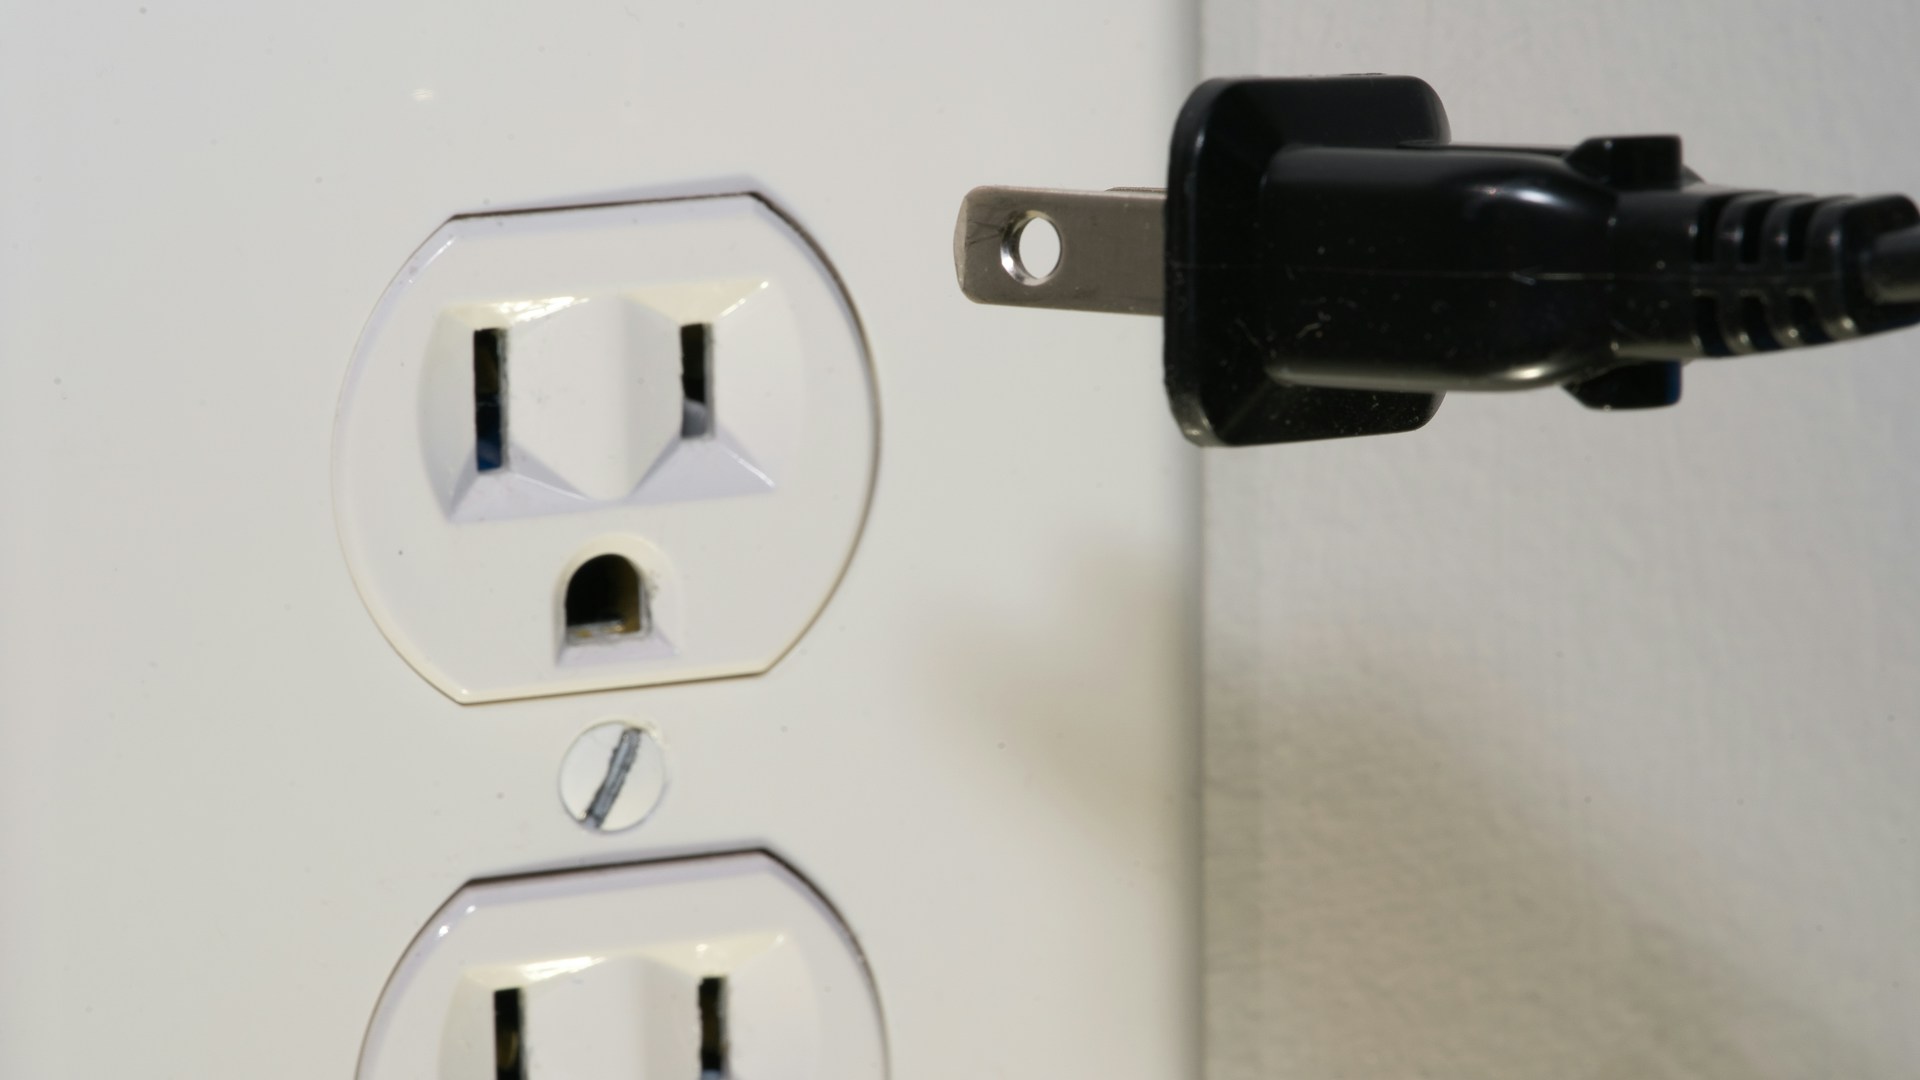
Table of Contents
Replacing a standard wall outlet with a USB combo unit is one of the most practical upgrades you can make in a home office. No more hunting for a free charger brick. No adapters wedged behind the desk. The job takes under an hour with basic tools, and the wiring is the same as swapping any receptacle.
This guide covers everything: choosing the right outlet, gathering materials, wiring it correctly, and testing before you button it up.
Types of USB Outlets
Not all USB outlets are the same. Buy the wrong one and you’ll be making a return trip.
| Type | USB Ports | Max Charging Speed | Best For |
|---|---|---|---|
| USB-A Only | 2× USB-A | ~2.4 A per port | Phones, older devices |
| USB-A + USB-C Combo | 1× USB-A, 1× USB-C | USB-C up to 18–20 W | Mixed device households |
| USB-C Only | 2× USB-C | 30 W+ (PD capable) | Laptops, modern phones |
| Quad USB (A+C) | 2× USB-A, 2× USB-C | Varies by brand | High-demand workstations |
For a home office with a laptop, phone, and tablet all needing power, a USB-A + USB-C combo outlet is the right call. Look for 20 W or higher on the USB-C port for fast charging. Stick with UL-listed brands — Leviton, Legrand, and TOPGREENER are all solid choices.
Tools and Materials Needed
Get everything together before you start. You don’t want to be digging through a toolbox while live wires are sitting exposed.
Tools:
- Non-contact voltage tester (non-negotiable)
- Flathead screwdriver
- Phillips-head screwdriver
- Needle-nose pliers
- Wire stripper / combination tool
- Electrical tape
- Pencil and masking tape (for labeling wires)
Materials:
- USB combo outlet (15 A, 125 V — standard for residential circuits)
- Matching outlet cover plate
- Wire nuts (usually included)
- Optional: short pigtail wires if existing wires are too short to work with comfortably
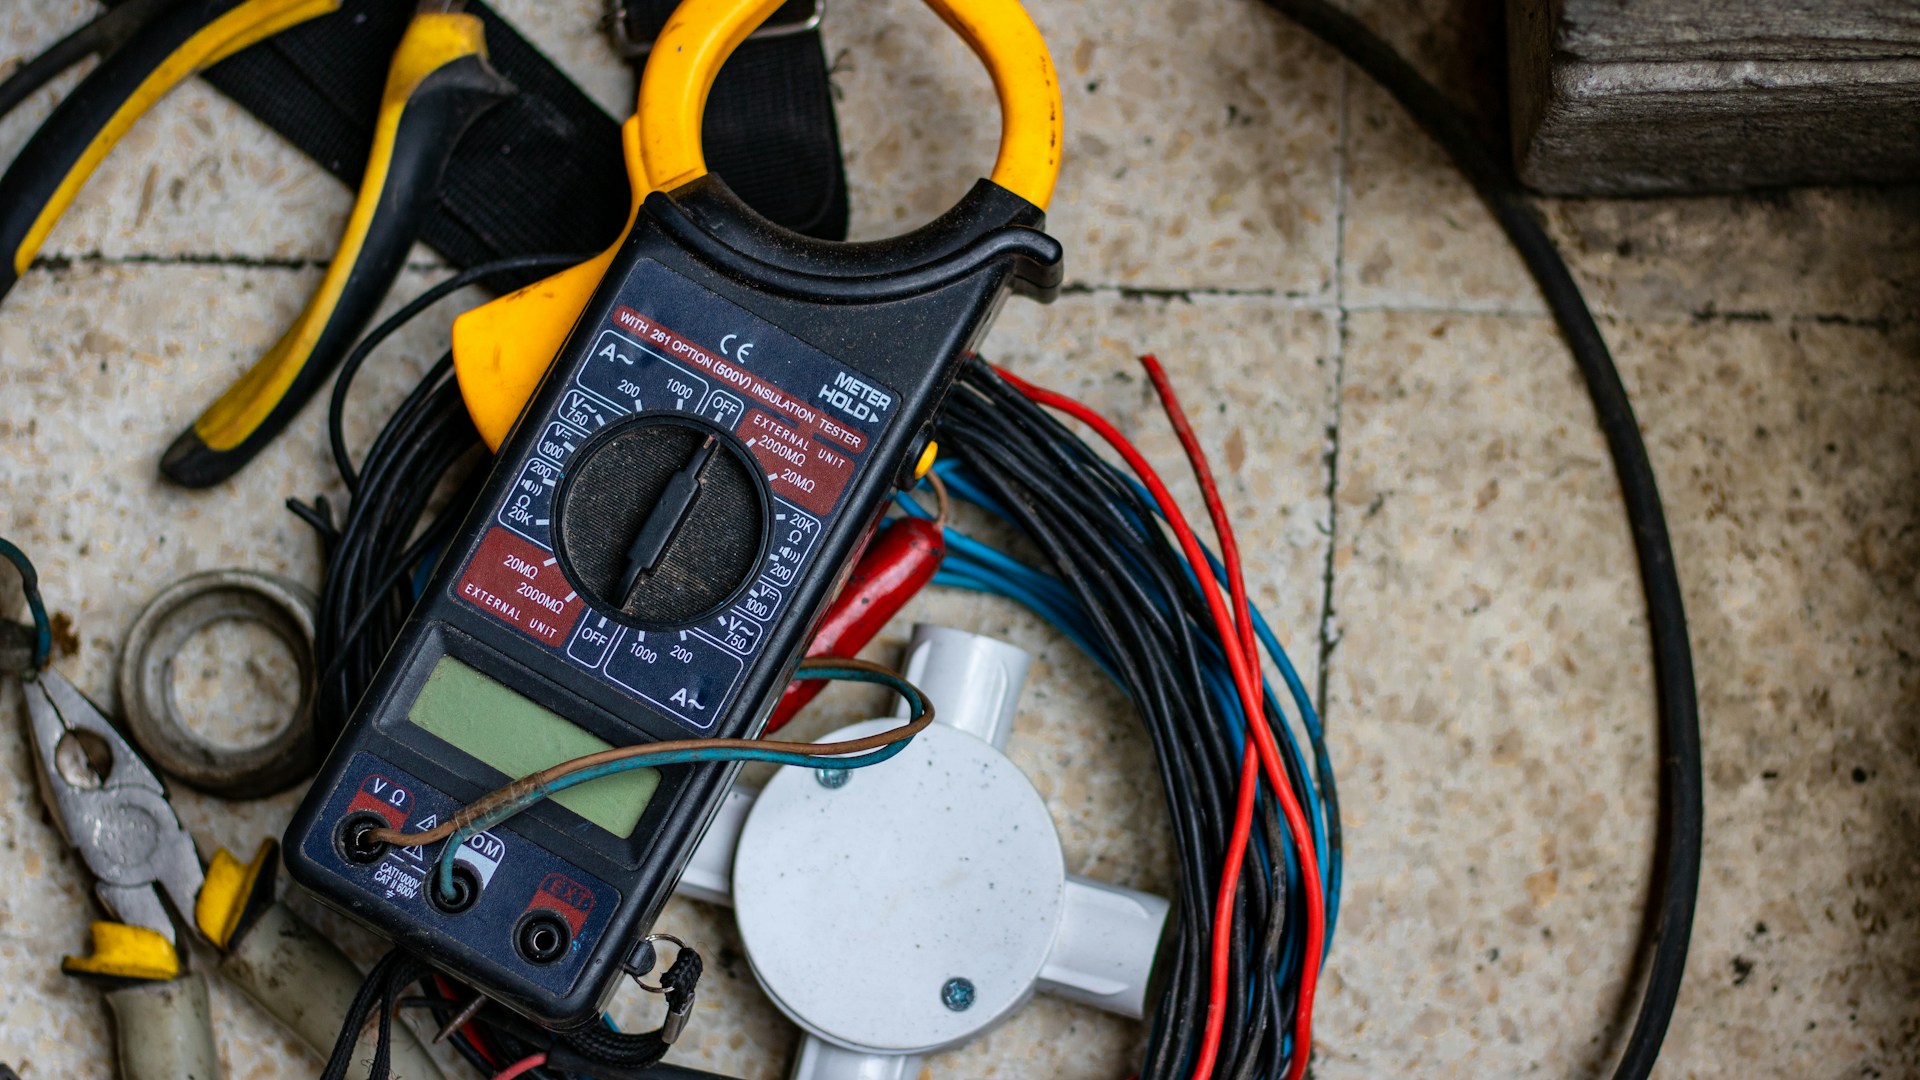 Photo by Hobi industri on Unsplash
Safety First
⚠️ Always turn off the circuit breaker before touching any wiring. Go to the main panel, find the breaker for the outlet, and flip it OFF. Tape over it so nobody flips it back on while you’re working.
⚠️ Always verify with a non-contact voltage tester before touching any wire. Breaker labels are sometimes wrong. Hold the tester near the outlet slots — if it beeps or lights up, the wrong breaker was cut. Find the right one before going any further.
A $15 non-contact tester is the most important tool in this kit. Use it every single time.
Step-by-Step Installation
Follow these in order. Don’t skip the verification steps.
-
Turn off the breaker and verify. At the main panel, cut the breaker for the target outlet. Back at the outlet, test both slots and the grounding hole with the voltage tester. No beep, no light — then you’re good to continue.
-
Remove the cover plate and unscrew the old outlet. One center screw for the plate, two mounting screws top and bottom for the outlet. Pull it forward slowly — the wires are connected to the back. Stop when you have 3–4 inches of slack.
-
Test again with the voltage tester. Hold the tester near the exposed terminals. An outlet fed from two separate circuits is uncommon but it happens. Second check, every time.
-
Photograph the existing wiring. Before disconnecting anything, take a photo. It’s free insurance if you lose track of which wire was on which terminal.
-
Disconnect the old outlet. Screw terminals: loosen and pull. Backstab (push-in) connections: insert a small flathead into the release slot. You’ll typically find three wires — black (hot), white (neutral), and bare copper or green (ground).
-
Connect the wires to the new USB outlet.
- Black wire → brass-colored terminal (labeled LINE or HOT)
- White wire → silver-colored terminal (labeled NEUTRAL)
- Bare copper or green wire → green screw (ground)
Tighten each screw until the wire won’t pull free with a firm tug. Skip the backstab terminals on the new outlet — screw connections are more reliable and code-preferred.
-
Fold the wires and mount the outlet. Accordion-fold the wires into the box, then press the outlet in. USB outlets run slightly deeper than standard receptacles — make sure the unit sits flush before tightening the mounting screws.
-
Attach the cover plate, restore power, and test. Secure the plate. Go back to the panel and flip the breaker ON. Plug in a lamp to confirm AC power works, then plug in a USB device to confirm charging starts.
 Photo by Clint Patterson on Unsplash
Wiring Diagrams Explained
U.S. residential wiring follows a consistent color code:
- Black wire — Hot (current from panel to outlet). Brass screw.
- White wire — Neutral (return path to panel). Silver screw.
- Bare copper or green wire — Ground (fault current path). Green screw.
Older homes with metal conduit sometimes use different wire colors — red as a second hot, or all-white conductors re-identified with tape. When you’re not sure, test with the voltage tester before connecting anything.
If the box has two sets of black and white wires, the outlet is feeding downstream receptacles through pigtail connections. Keep the same pigtail arrangement on the new outlet — one wire per terminal only.
Testing Your New Outlet
Once power is restored, run through this before putting your tools away:
- Plug a lamp into each AC receptacle individually — both should work.
- Connect a phone or tablet to each USB port — charging should start within a few seconds.
- Use a plug-in outlet tester (about $10, indicator lights tell you everything) to verify correct wiring polarity. Any result other than “correct wiring” means open it back up and recheck connections.
- Confirm the outlet face sits flush with the wall and the cover plate has no visible gaps.
Troubleshooting Common Issues
AC outlets have no power after installation. Check the breaker first — it may have tripped to the middle position. Reset it by pushing it fully to OFF, then back to ON. If it trips again immediately, there’s a wiring fault. Kill the power and recheck all connections for loose strands or bare conductors touching each other.
USB ports present but devices won’t charge. Some USB outlets need 10–30 seconds to initialize after power is applied. If that’s not it, check the outlet’s charging spec — a 1 A unit won’t fast-charge a modern smartphone. Also test the cable on a known-good charger.
The outlet feels warm. Mild warmth near the USB module is normal — the internal electronics generate a small amount of heat. Excessive heat or any burning smell means something is wrong. Kill the breaker immediately and inspect all terminals.
Outlet tester shows “open ground.” The ground wire isn’t connected or isn’t making solid contact. In pre-1960 homes without grounding, a GFCI outlet can be installed in its place and labeled “No Equipment Ground” per NEC 406.4(D)(2).
Code Compliance Notes
For most home office locations — a bedroom, a study, a basement workspace — a standard 15 A USB outlet installs without additional requirements. A few exceptions worth knowing:
- Kitchens and bathrooms: Circuits must be GFCI-protected per NEC 210.8. Use a GFCI USB combo outlet or ensure the outlet is downstream of an existing GFCI device.
- Outdoor and garage locations: GFCI required. Outdoor installations also need weather-resistant (WR) ratings.
- 15 A vs. 20 A circuits: Most office and bedroom circuits are 15 A. Only install a 20 A outlet on a verified 20 A circuit with 12 AWG wiring.
- Permit requirements: Swapping a like-for-like outlet typically doesn’t need a permit in most U.S. jurisdictions. Adding or converting circuits does. Check with your local building department if you’re unsure.
Final Thoughts
The materials run $20–$50. The job takes under an hour. The payoff — no more adapter hunting, no more power strips cluttering the desk — is immediate.
Once you’ve done this once, the same skills carry over: tamper-resistant receptacles, GFCI outlets in wet locations, smart outlets with energy monitoring. One USB outlet swap in a home office is usually all it takes to get comfortable with residential electrical work.