10 Budget Furniture Makeover Ideas That Actually Look Expensive
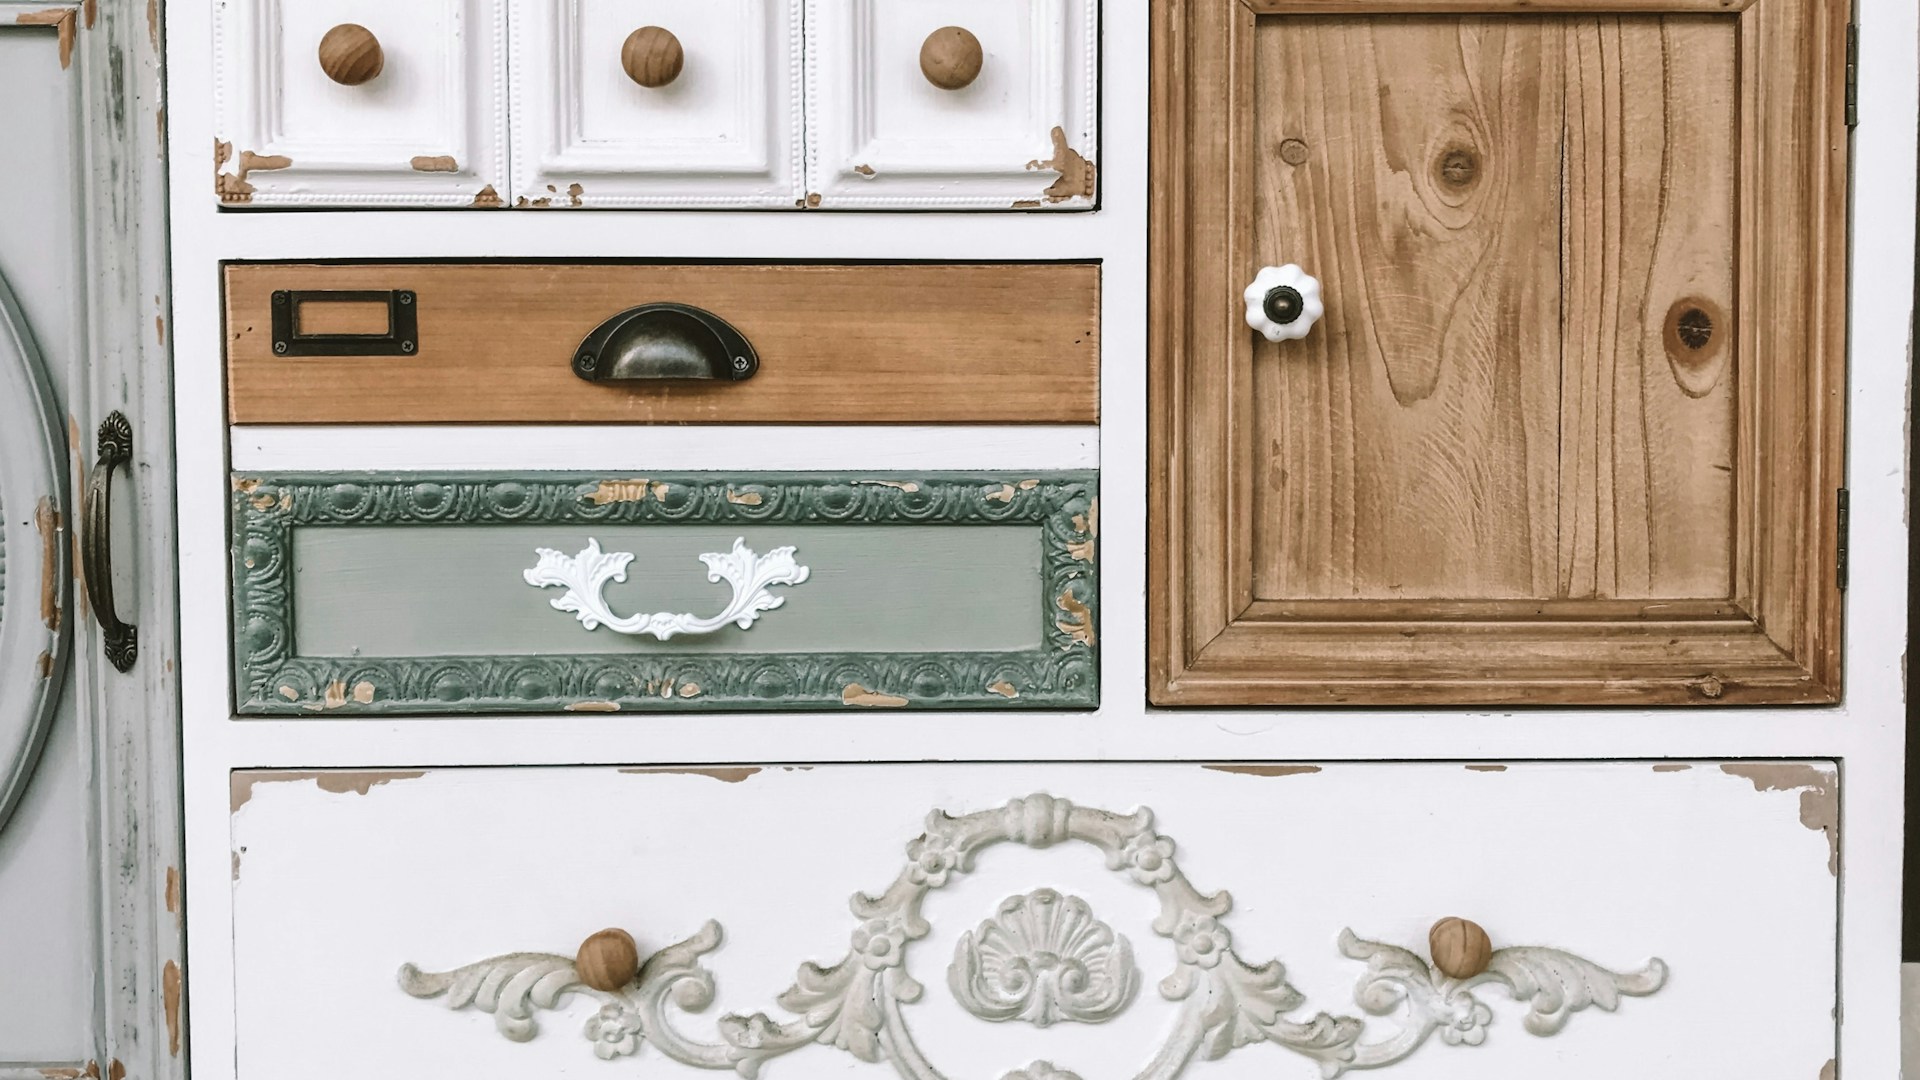
Table of Contents
There’s something deeply satisfying about walking past a beat-up dresser at a thrift store, imagining what it could become, and then actually making it happen — for under $30. A budget furniture makeover doesn’t require a workshop full of power tools or a degree in interior design. All it takes is a little creativity, the right materials, and the confidence to get started.
Whether you’re working with a hand-me-down bookcase, a flat-pack table that’s seen better days, or a Craigslist score that needs some love, these ten ideas will help you turn “dated” into “designer” without breaking the bank. Each project is approachable, rewarding, and genuinely transformative — the kind of results that make guests ask, “Where did you get that?”
Let’s get into it.
10 Budget Furniture Makeover Ideas
1. Paint + New Hardware — The Classic High-ROI Combo
If you only do one thing to an old piece of furniture, make it this: fresh paint plus new hardware. That tired IKEA dresser or sad wooden cabinet? Sand it lightly, prime it, roll on a coat of satin in a color you love, swap out the knobs for some sleek brass or matte black pulls — and suddenly it looks like something you spent real money on. People genuinely ask where you bought it.
Materials needed:
- Sandpaper (120 and 220 grit)
- Primer (spray or brush-on)
- Paint in your chosen finish (satin or semi-gloss recommended)
- New knobs or pulls
- Painter’s tape
Estimated cost: $20–$45 (hardware is usually $1–$3 per pull from IKEA or Amazon)
Difficulty: Easy
Effect: A completely refreshed look that can shift a piece from casual to contemporary, or from mid-century to modern farmhouse depending on your color and hardware choices.
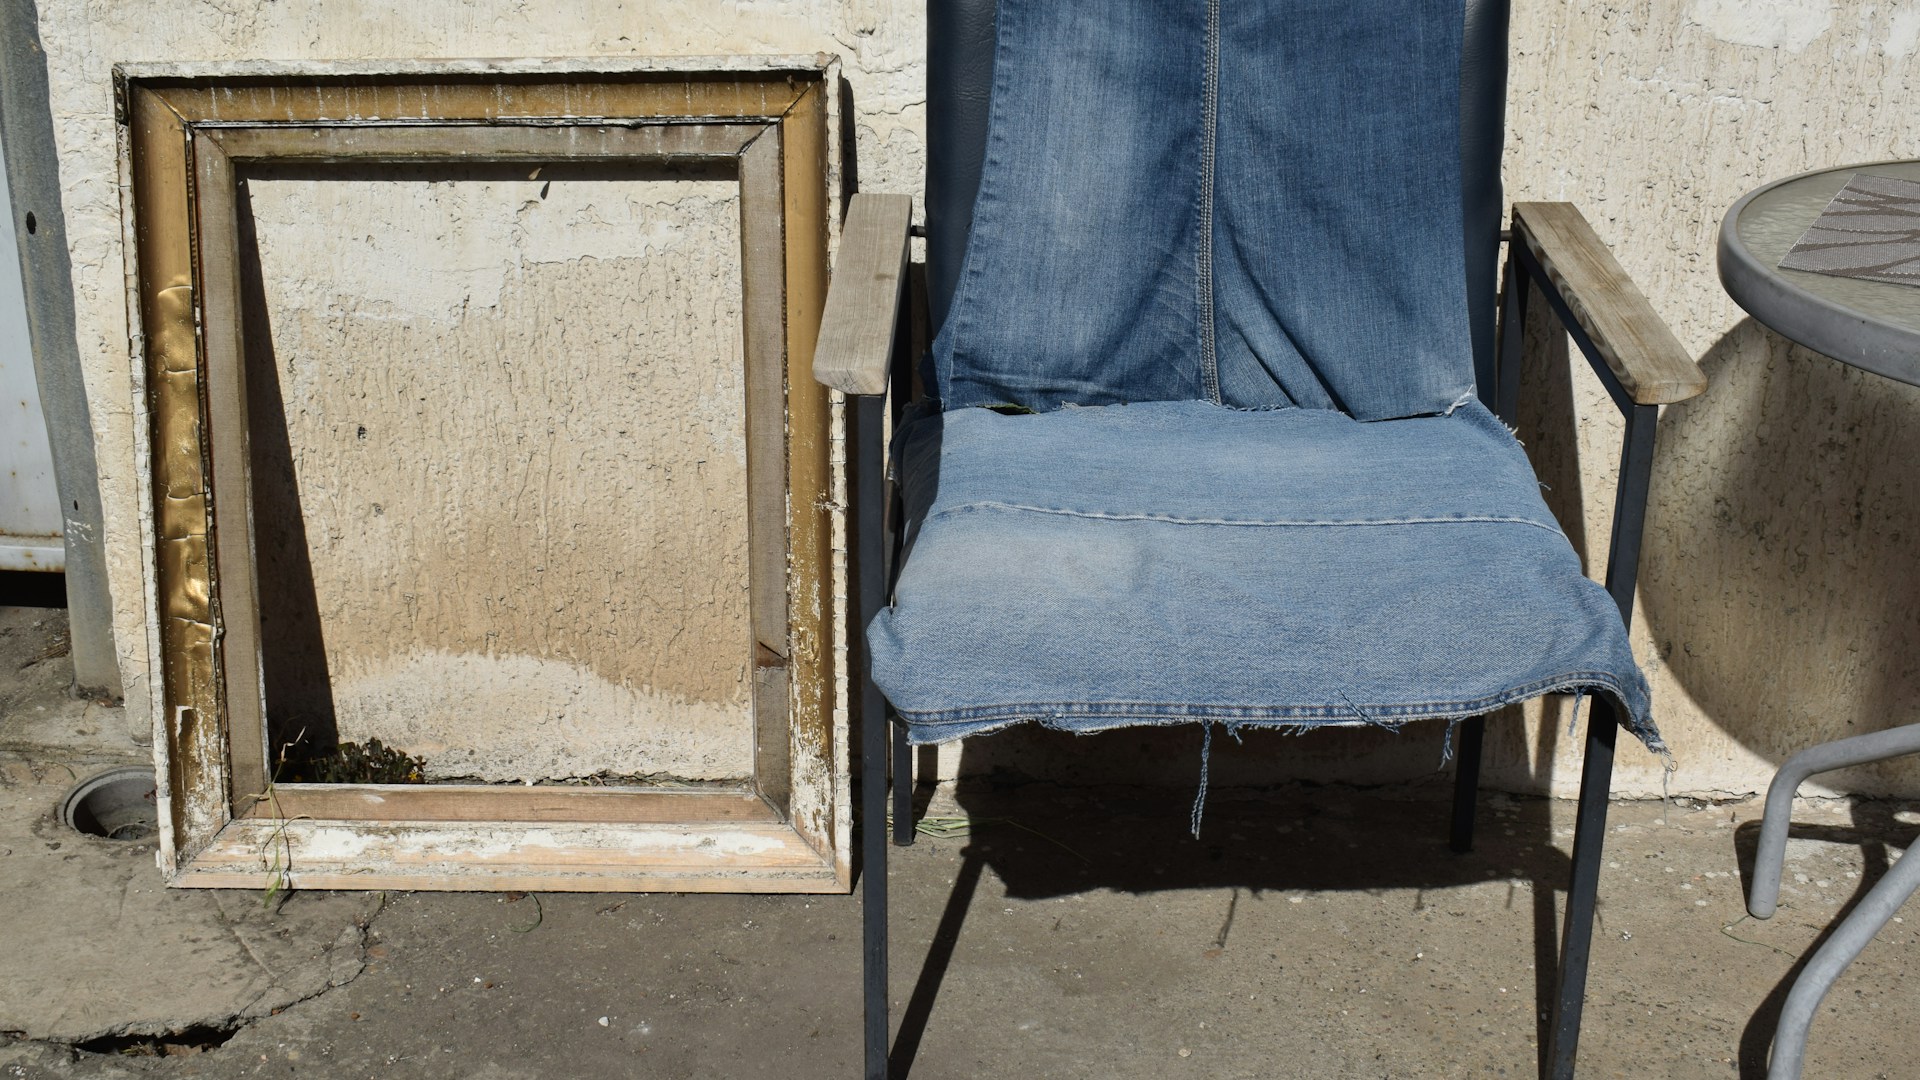 Photo by Marija Zaric on Unsplash
2. Contact Paper Transformation — Instant Surface Upgrade
Contact paper in 2026 is nothing like the tacky shelf liner your grandma used. Today’s self-adhesive films come in marble, wood grain, matte black, concrete — you name it — and they go on cleanly to any flat surface. Tabletops, cabinet doors, drawer faces: all fair game. Best part? It’s completely reversible if you change your mind.
Materials needed:
- Self-adhesive contact paper or vinyl wrap film
- Squeegee or credit card
- Utility knife or scissors
- Rubbing alcohol (for surface prep)
Estimated cost: $10–$25 for a roll, depending on size and finish
Difficulty: Easy
Effect: A dated laminate desk or particleboard IKEA piece can look like it has a genuine marble or hardwood surface. Particularly stunning on coffee tables and kitchen islands.
3. Chalk Paint Makeover — The Forgiving Finish for Wood Furniture
Chalk paint is the thing that got a lot of people into DIY in the first place — and for good reason. It sticks to almost anything without extensive prep, dries fast, and gives you that velvety matte finish that looks straight out of a boutique home shop. Grab a thrift store dresser or an old hutch, slap on some chalk paint, and give the edges a little distressing with fine steel wool. The result looks genuinely intentional and artisanal.
Materials needed:
- Chalk paint (Annie Sloan, Rust-Oleum Chalked, or DIY version with latex paint + unsanded tile grout)
- Wax or sealer for topcoat
- Natural bristle brush
- Fine steel wool or sandpaper for distressing (optional)
Estimated cost: $15–$35 for paint and wax
Difficulty: Easy to Medium
Effect: A beautifully aged, artisanal finish that looks like it came from a boutique home décor shop. Distressing the edges adds an extra layer of character.
4. Reupholstering Dining Chairs — Big Impact, Low Skill Floor
Worn-out dining chair cushions are everywhere — and they’re so easy to fix it almost feels like cheating. Most drop-in seat cushions are held in with four screws. Unscrew, pull the old fabric off, staple new fabric on, screw it back. That’s the whole project. Done well, a matching set of reupholstered chairs can make an entire dining room feel intentionally designed.
Materials needed:
- Upholstery fabric (1/2 yard per chair seat is usually enough)
- Staple gun + staples
- Screwdriver
- Scissors or rotary cutter
- Batting or foam (if replacing padding)
Estimated cost: $5–$15 per chair depending on fabric choice
Difficulty: Easy
Effect: A mismatched or faded chair set is unified and refreshed with coordinating fabric. Bold patterns, textured boucle, or classic linen can completely change the dining room’s personality.
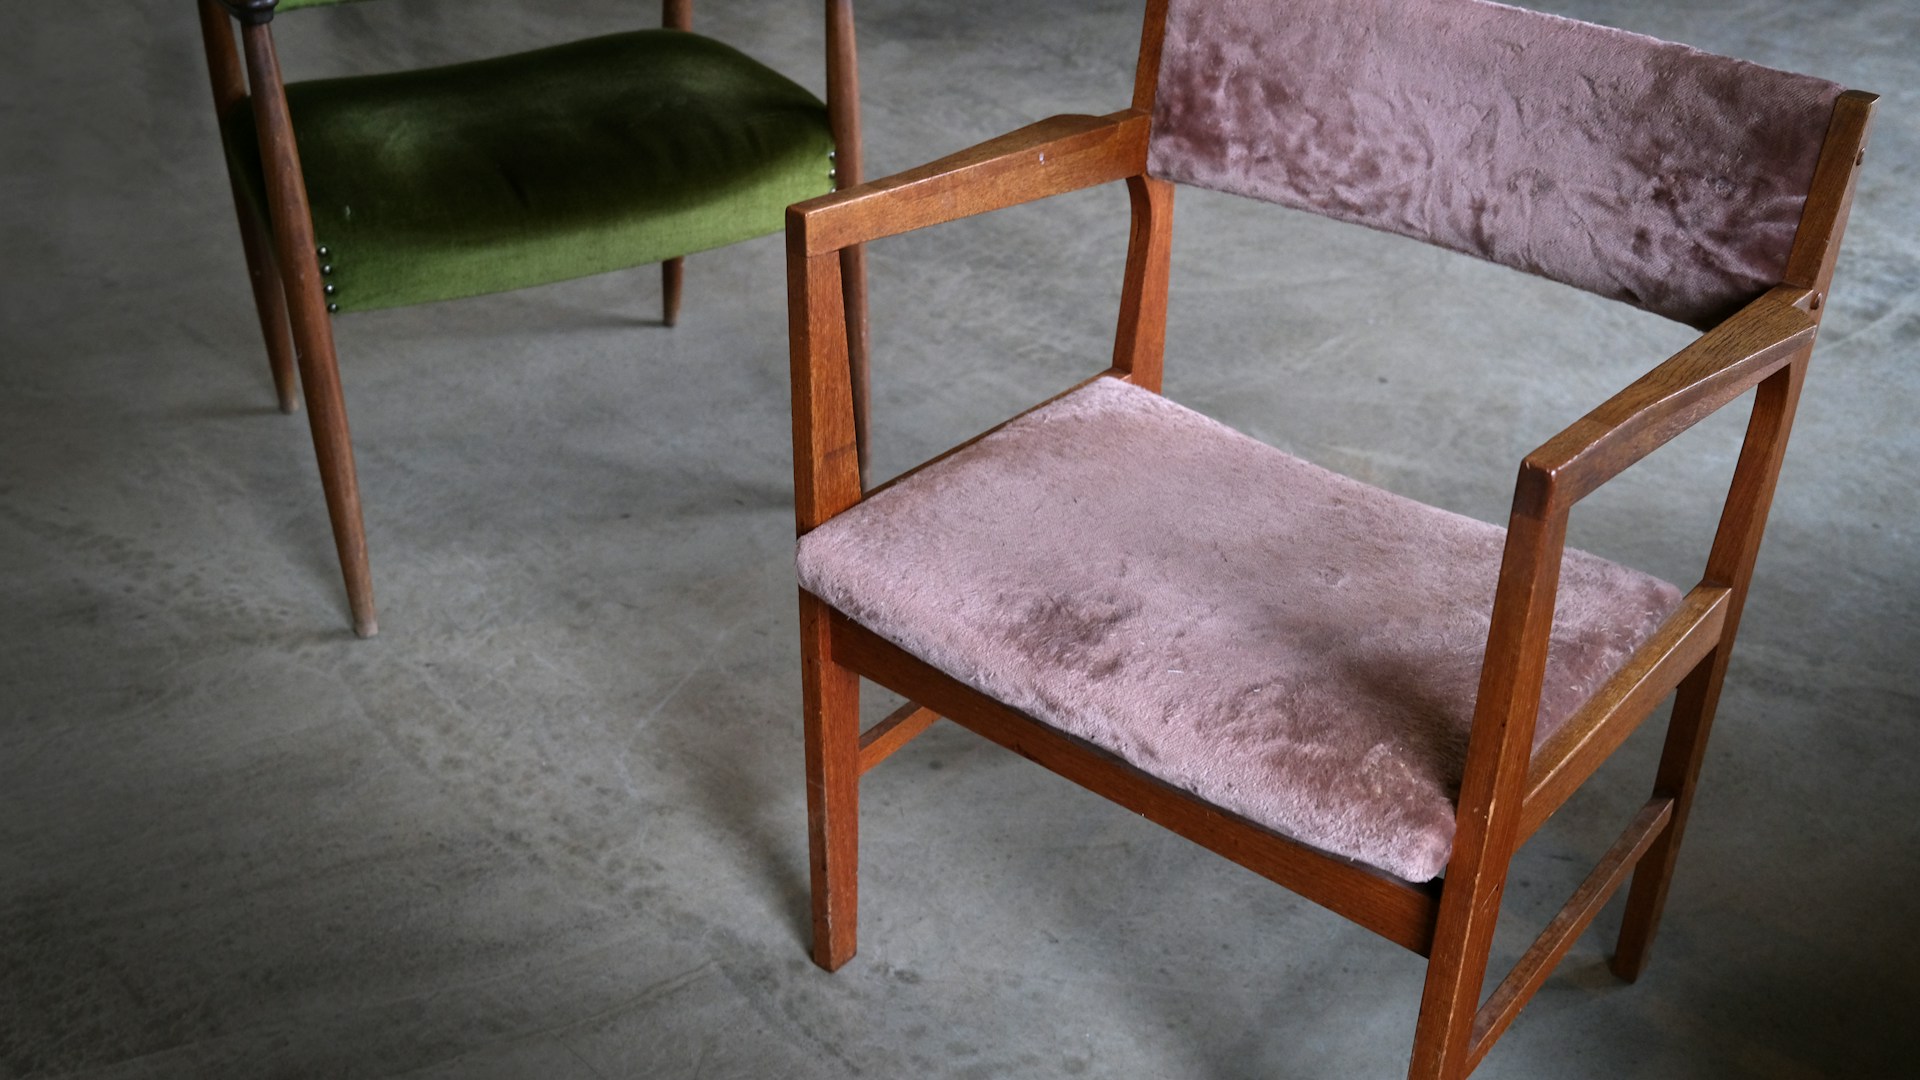 Photo by Sonia Dauer on Unsplash
5. Leg Replacement — Change the Silhouette, Change the Style
Here’s one that people don’t talk about enough: the legs are everything. Swap the legs on a piece and you’ve basically changed its entire personality. Stubby tapered legs say mid-century modern. Hairpin legs say loft-chic. Square chunky legs say Shaker or industrial. A $15 thrifted side table with $30 hairpin legs from Amazon looks like a hundred-dollar design piece — seriously.
Materials needed:
- Replacement legs (available on Amazon, IKEA, or Etsy in sets of 4)
- Drill or screwdriver
- Furniture leg mounting plates (often included)
- Level
Estimated cost: $20–$60 for a set of four legs, depending on material and style
Difficulty: Easy to Medium
Effect: A bulky, dated piece of furniture suddenly looks lighter, taller, and more intentional. Hairpin or tapered wooden legs are especially popular for adding a high-design feel to basic pieces.
6. Open Shelving Conversion — Remove the Doors, Add the Drama
Sometimes less really is more — just remove the doors. Pull the doors off one or two sections of a cabinet or bookcase, style the interior with plants, books, and a few decorative objects, and you’ve transformed a closed-off storage unit into an airy display moment. Paint the interior back panel a contrasting color or line it with removable wallpaper to really make it pop. You’ll need nothing but a screwdriver and a bit of editorial instinct.
Materials needed:
- Screwdriver (to remove hinges and doors)
- Wood filler (to patch hinge holes, optional)
- Paint or wallpaper for the interior back panel (optional upgrade)
- Styling items: baskets, plants, books
Estimated cost: $0–$20 (the cabinet you already own does the heavy lifting)
Difficulty: Easy
Effect: A storage piece transforms into a display focal point. Adding a contrasting paint color or removable wallpaper to the interior back panel takes the result from “nice” to “wow.”
7. Stencil Painting — Pattern Without the Commitment
If a solid color feels boring but wallpaper feels permanent, stencils are your middle ground. You don’t need to be able to draw a straight line — just tape the stencil down, dab paint through it with a foam roller or stencil brush, and repeat. Geometric patterns on drawer fronts. Botanical prints on tabletops. Moroccan-tile motifs on a plain dresser. The effect reads as custom and hand-done, and you can do the whole project for under $25.
Materials needed:
- Reusable stencil (Etsy or craft stores)
- Chalk paint or acrylic paint in a contrasting color
- Small foam roller or stencil brush
- Painter’s tape
- Paper plates or palette
Estimated cost: $10–$25 (stencils are reusable for future projects)
Difficulty: Medium
Effect: A furniture piece that looks custom-designed. Geometric stencils work beautifully on flat drawer fronts; botanical stencils work well on tabletops and chair backs.
8. Floating Shelf From Old Drawers — Functional Upcycling at Its Best
Old dresser drawers have a second life waiting for them. Mounted sideways on a wall with the open face pointing outward, they become charming shadow-box shelves — perfect for an entryway, bedroom, or home office corner. Paint them all one color for a clean look, or let the original wood grain show through for something warmer and more organic. Either way, this is upcycling that actually looks intentional.
Materials needed:
- Old dresser drawers
- Wall brackets or French cleats
- Drill and wall anchors
- Sandpaper
- Paint or stain (optional)
- Level
Estimated cost: $5–$15 if drawers are salvaged; $10–$20 for mounting hardware
Difficulty: Medium
Effect: What was literally destined for the trash becomes a unique, conversation-starting wall feature. Great for displaying small plants, books, or collected objects.
9. Mirror Frame Upcycle — Give That Basic Mirror a Glow-Up
A plain rectangular mirror is a blank canvas. Thrift one for $5, then frame it however you like: paint the existing frame, wrap it in jute rope, tile it with mosaic pieces, glue on thin wood strips, or build a sunburst border out of wood dowels. No existing frame? Add wood molding from the hardware store. A truly ugly garage sale mirror can rival a $200 boutique piece when the frame treatment is right.
Materials needed:
- Old or thrifted mirror
- Paint, spray paint, or decorative material (rope, wood strips, tile)
- Strong adhesive or brad nails
- Sandpaper (if painting existing frame)
Estimated cost: $5–$30 depending on approach
Difficulty: Easy to Medium
Effect: A $5 garage sale mirror can rival a $200 boutique piece after a thoughtful frame treatment. Sunburst designs made from wood dowels or painted rattan are particularly popular finishes right now.
10. Hairpin Leg Coffee Table — Build One for Under $50
This is the one for anyone who’s ever wanted to look at something in their home and say “I built that.” Find a thick slab of reclaimed wood — a butcher block offcut, a pallet plank, whatever you can get your hands on — sand it smooth, finish it with oil or poly, then screw on four hairpin legs. That’s the whole build. The result is a coffee table that looks like it came from a boutique furniture shop with a four-figure price tag, and you made it for under $50.
Materials needed:
- Wood slab or butcher block (reclaimed, thrifted, or from the lumber yard)
- Set of 4 hairpin legs with screws (Amazon or local hardware store)
- Sandpaper (80, 120, 220 grit)
- Wood oil or polyurethane for finishing
- Drill
Estimated cost: $35–$65 total (hairpin legs are often $25–$40 for a set of four; wood varies)
Difficulty: Medium
Effect: A genuinely custom piece of furniture that fits your exact dimensions and style. The combination of raw wood and slender metal legs is a perennial favorite in modern and industrial interiors.
Where to Find Cheap Furniture to Upcycle
The best budget furniture makeover projects start with the right raw materials — and cheap furniture is everywhere if you know where to look.
- Facebook Marketplace — The undisputed king of secondhand furniture finds. Search your city for dressers, side tables, and chairs. Many listings are free or under $20 for pieces that just need some love.
- Thrift stores (Goodwill, Salvation Army, local shops) — Pricing varies by location, but wooden furniture is usually priced well below retail. Visit mid-week when new stock has been put out.
- Craigslist Free Section — People often list large furniture pieces as free simply because they don’t want to deal with moving them. These are prime upcycling candidates.
- Curb alerts and bulk trash days — Follow local neighborhood groups on social media to catch curb alerts. Many solid-wood pieces end up on the sidewalk before bulk trash pickup.
- Yard and estate sales — Weekend treasure hunting at its finest. Estate sales in particular often have high-quality older furniture at very low prices.
- IKEA as-is section — Returned or lightly damaged IKEA pieces at steep discounts. Perfect for contact paper and paint transformations since the surfaces are flat and consistent.
Final Thoughts
The best part of a budget furniture makeover isn’t the money you save — it’s ending up with something that’s actually yours. Something with character, with a little history, with your taste built right into it. Finish one project and you’ll see what I mean: suddenly every thrift store trip becomes a scouting mission, and every beat-up piece of furniture is just a before photo waiting to happen.
Start with the easiest win — paint and new hardware on a single dresser — and go from there. Before long your home will be full of pieces that are genuinely one of a kind.
Happy making.