3D Printed Cable Management: Clean Up Your Desk for Good
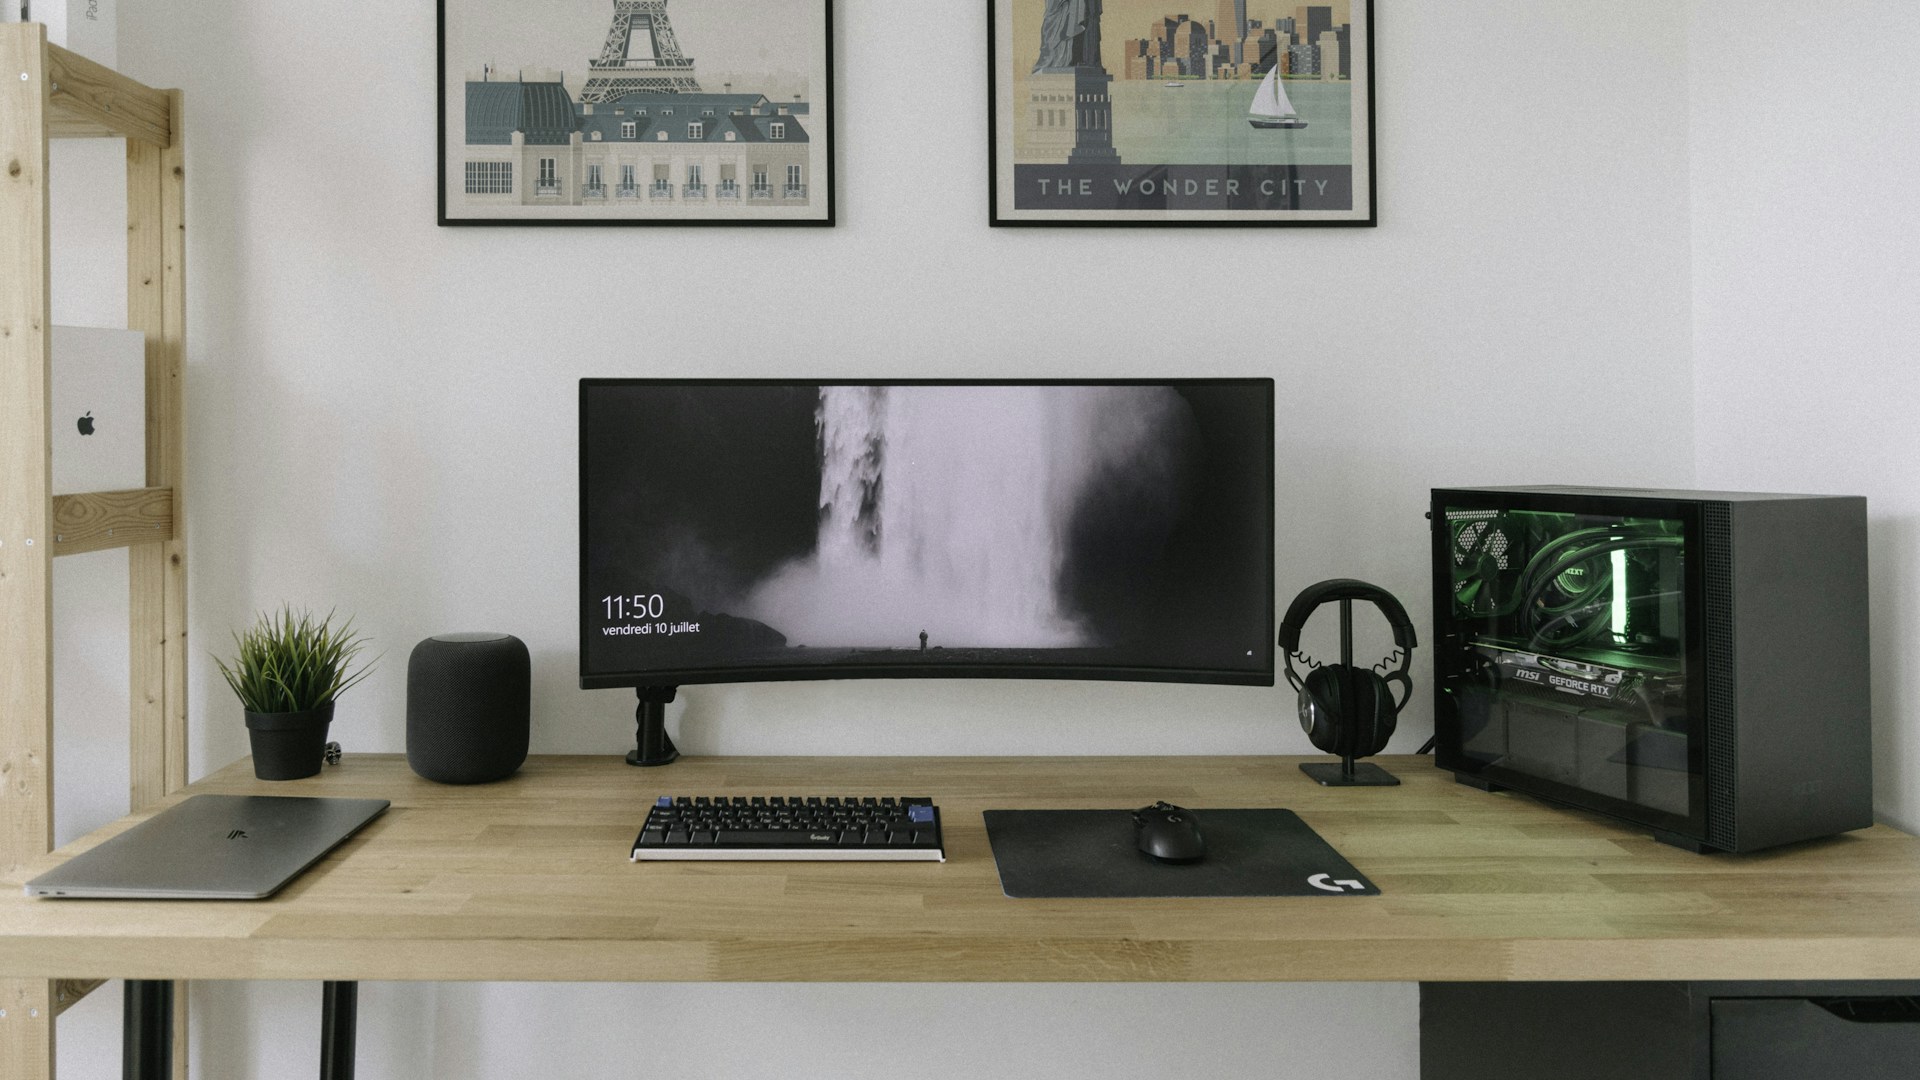
Table of Contents
Walk into any serious maker’s home office and one thing stands out immediately — the cables are actually under control. No tangled nest behind the monitor, no power strip dangling from the desk edge, no USB cables flopping around every time someone reaches for a coffee mug. The secret behind many of those clean setups isn’t an expensive cable management kit from a big-box store. It’s a 3D printer and a few hours of build time.
3D printed cable management is one of those projects that makes you realize desktop FDM printing is genuinely useful, not just a novelty. Off-the-shelf cable clips come in three or four sizes and work poorly for anything outside that range. Commercial under-desk trays are sized for the average desk, not your specific one. Printed parts, by contrast, can be tuned to exact cable diameters, precise desk thicknesses, and whatever mounting method you actually have. When something doesn’t fit, open the slicer, change a dimension, and try again — takes thirty seconds.
This guide covers the full system: what to print, where to find the files, how to slice them, and how to install everything so it stays put.
What You’ll Need
Printer Requirements
Any FDM printer with decent bed adhesion can handle these prints. Cable management parts aren’t demanding — no fine detail work, no tricky bridging, nothing requiring tight tolerances. A 220 × 220 mm bed covers clips and small brackets comfortably. Longer under-desk trays can be split into sections for smaller machines.
Direct drive or Bowden both work fine. Layer height barely matters here; 0.2 mm is the standard and there’s no reason to go finer.
Recommended Materials
PETG is the go-to for desk cable management. It handles moderate heat (a loaded power strip can warm the air in a closed shelf), resists UV yellowing better than PLA, and has just enough flex to let clips snap into place without cracking. It also holds up over time without going brittle.
PLA is fine for most clips and light-duty holders and easier to print if you’re still dialing in your PETG settings. The main risk is heat: PLA starts softening around 60 °C, which usually isn’t a problem under a desk but can be in tight spots near power supplies or in hot climates.
ABS and ASA come up if you need maximum UV resistance or durability, but the extra print hassle is rarely worth it for cable management parts.
For color, black is practical — it hides dust and scuffs. Plenty of makers match their desk or monitor color, which looks sharp when everything is tucked under the surface.
Essential Prints
Cable Clips
Cable clips are the backbone of the whole system. They grip a wire or bundle and hold it to a surface — simple, but the design variations matter.
Adhesive-mount clips have a flat base with a hole or slot for a cable tie. They stick to the underside of the desk, the back of a monitor arm, or the side of a shelf. The clip snaps around the cable with enough grip to hold without marking the insulation.
Edge-mount clips hook over the desk edge and skip the need for drilling or adhesive. Popular on standing desks where cables are visible from the front.
Stackable clips let multiple cable sizes share a single anchor point, which keeps a grouped run looking clean and intentional rather than haphazard.
One thing people skip: actually measuring cables before downloading. A clip sized for a 6 mm cable won’t seat right on a thick braided USB-C sleeve. Most Printables listings include diameter specs — check them before printing, not after the clip won’t close.
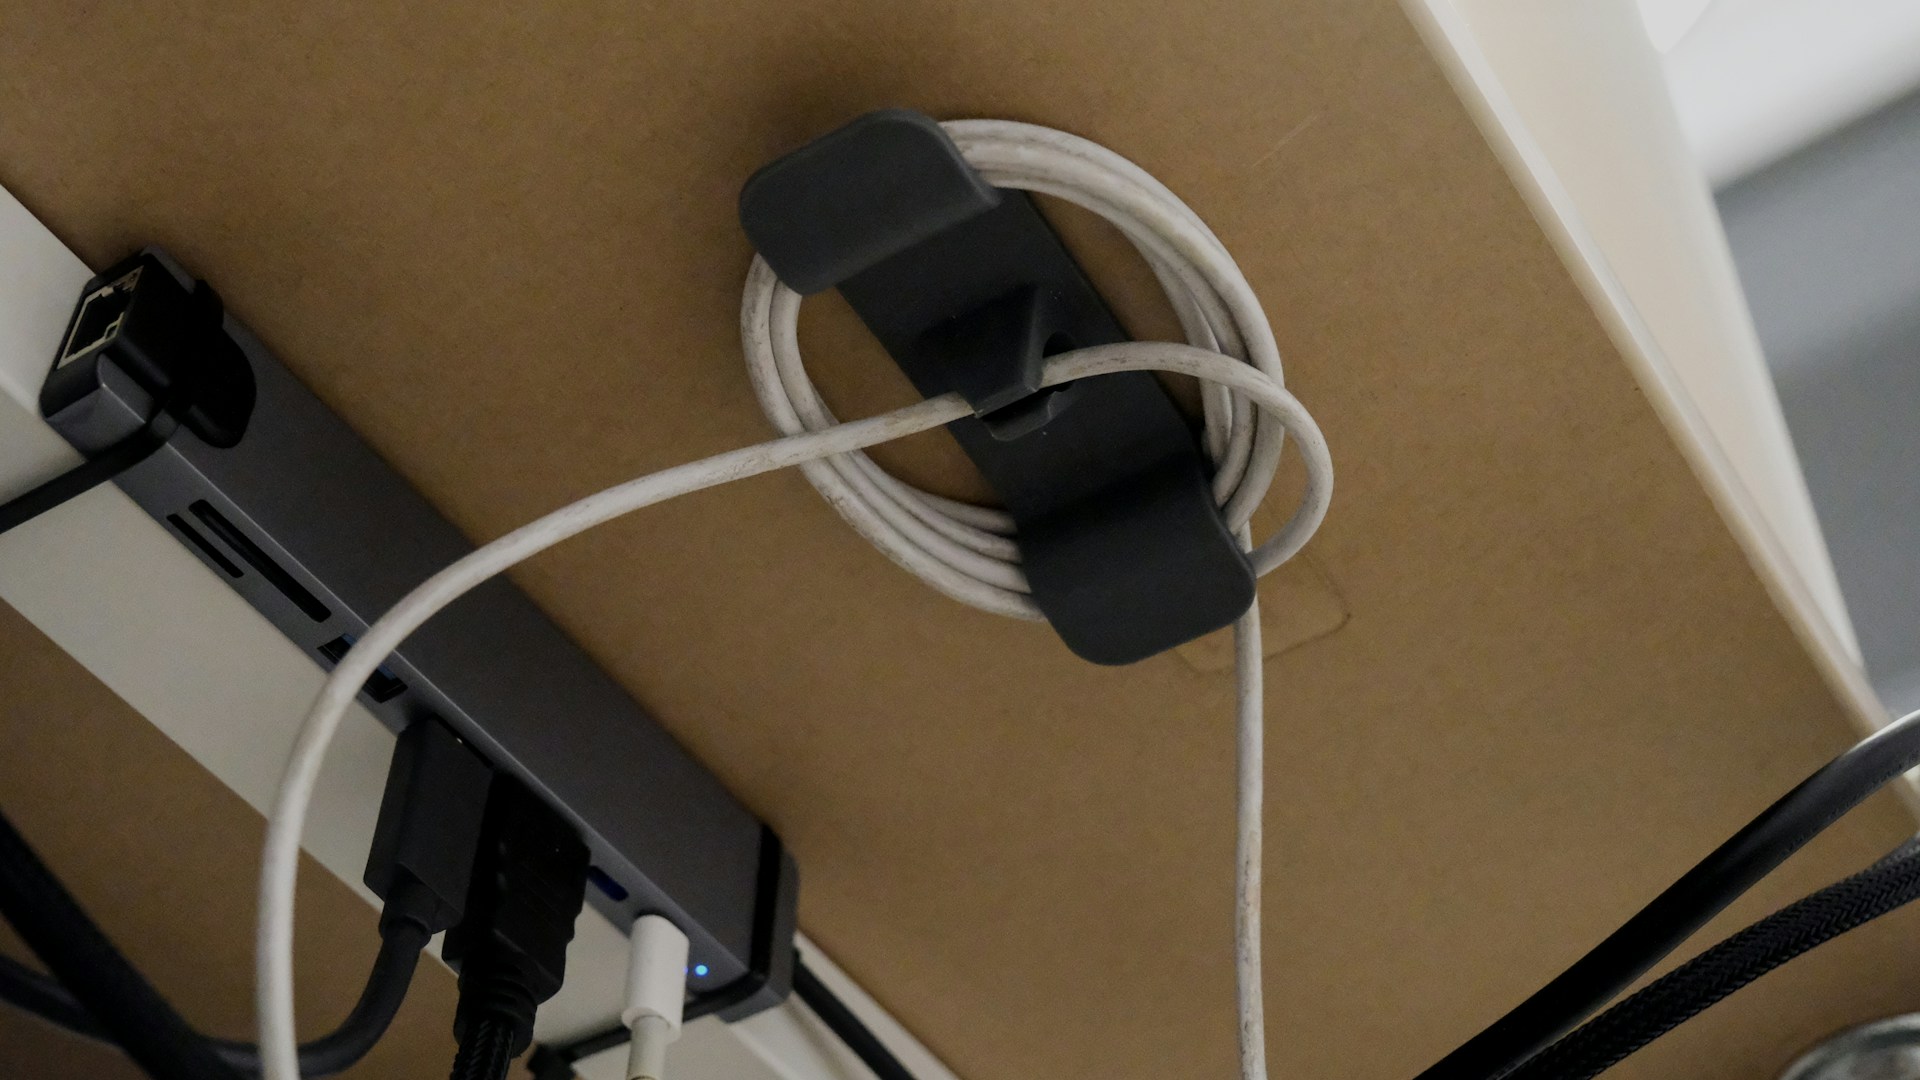 Photo by Bedirhan Gül on Unsplash
Under-Desk Cable Tray
The tray is the spine of a hidden cable run. Power bricks, excess cable length, bundled runs — all of it goes in the tray and disappears from view.
Most trays run the full desk width or cover a defined section. Good designs are modular: 200 mm segments that interlock end-to-end, so a 600 mm run prints as three sections that fit any bed size.
Look for trays with a bottom channel for power cables, side openings to route individual lines to their destinations, and a snap-on lid. Some include integrated mount tabs for screws or heavy-duty tape.
Mounting is usually the most involved step. Options: M4 screws through the desk surface (cleanest and most permanent), 3M VHB tape on smooth laminate, or clamp brackets that hook over the back edge if drilling is off the table.
Cable Spine
The cable spine solves a specific problem: the vertical drop from desk to floor, or from desk to a wall outlet. Without something holding it, that section becomes a loose bundle that sways whenever someone moves their chair.
Printed spine links connect like a chain, each one holding the bundle while the spine follows a gentle curve to the floor. Some designs use ball-and-socket joints for flexibility; others are rigid with straight or angled segments.
For a standing desk, the spine has to handle the height change. Accordion-style spines compress and extend with the desk without pinching cables or pulling them taut. These are one of the more satisfying prints in this category — they look purposeful and actually solve a real problem.
Power Strip Holder
A power strip on the floor undoes most of a cable cleanup in five minutes. A printed holder mounts the strip under the desk, gets it off the floor, and shortens cable runs from device to plug.
Good holder designs are sized for standard strip widths (most fall in the 66–75 mm range) and use a cradle-and-strap approach: a fixed cradle supports the strip from below, a printed strap or bracket locks it from above. Some designs use the strip’s own hanging slots for a one-click installation.
When printing these, go with at least 3–4 wall perimeters. A loaded strip — four or five power bricks, a monitor cable, a lamp — gets heavy. Two perimeters will flex. Three or four won’t.
Monitor Riser with Cable Routing
A monitor riser that routes cables underneath is a two-for-one print. The riser lifts the monitor to a comfortable eye level; the channel guides cables from the monitor, webcam, and USB hub out of sight before they reach the desk surface.
The design challenge is load — a riser needs to handle 5–10 kg without flexing. That means meaningful infill (grid or gyroid at 30–40%) and solid walls. The cable channel typically runs along the back wall or through hollow legs that double as conduit.
Where to Find Free STL Files
Three platforms cover most of what a cable management build needs:
Printables.com (Prusa’s platform) has become the main destination for quality files. Search “cable management desk” and filter by Most Downloaded or Best Rated. Free after a quick account registration.
Makerworld (Bambu Lab’s platform) skews toward Bambu printers but all files work on any FDM machine. The verification system means many listings include documented print settings and community-confirmed results.
Thingiverse is older and less moderated but has a massive catalog. Many classic desk cable management designs live there. Read the comments — other makers often flag fit issues or post remix links with improvements.
For any download, check the license before remixing or redistributing. Most are Creative Commons, but the specific variant matters.
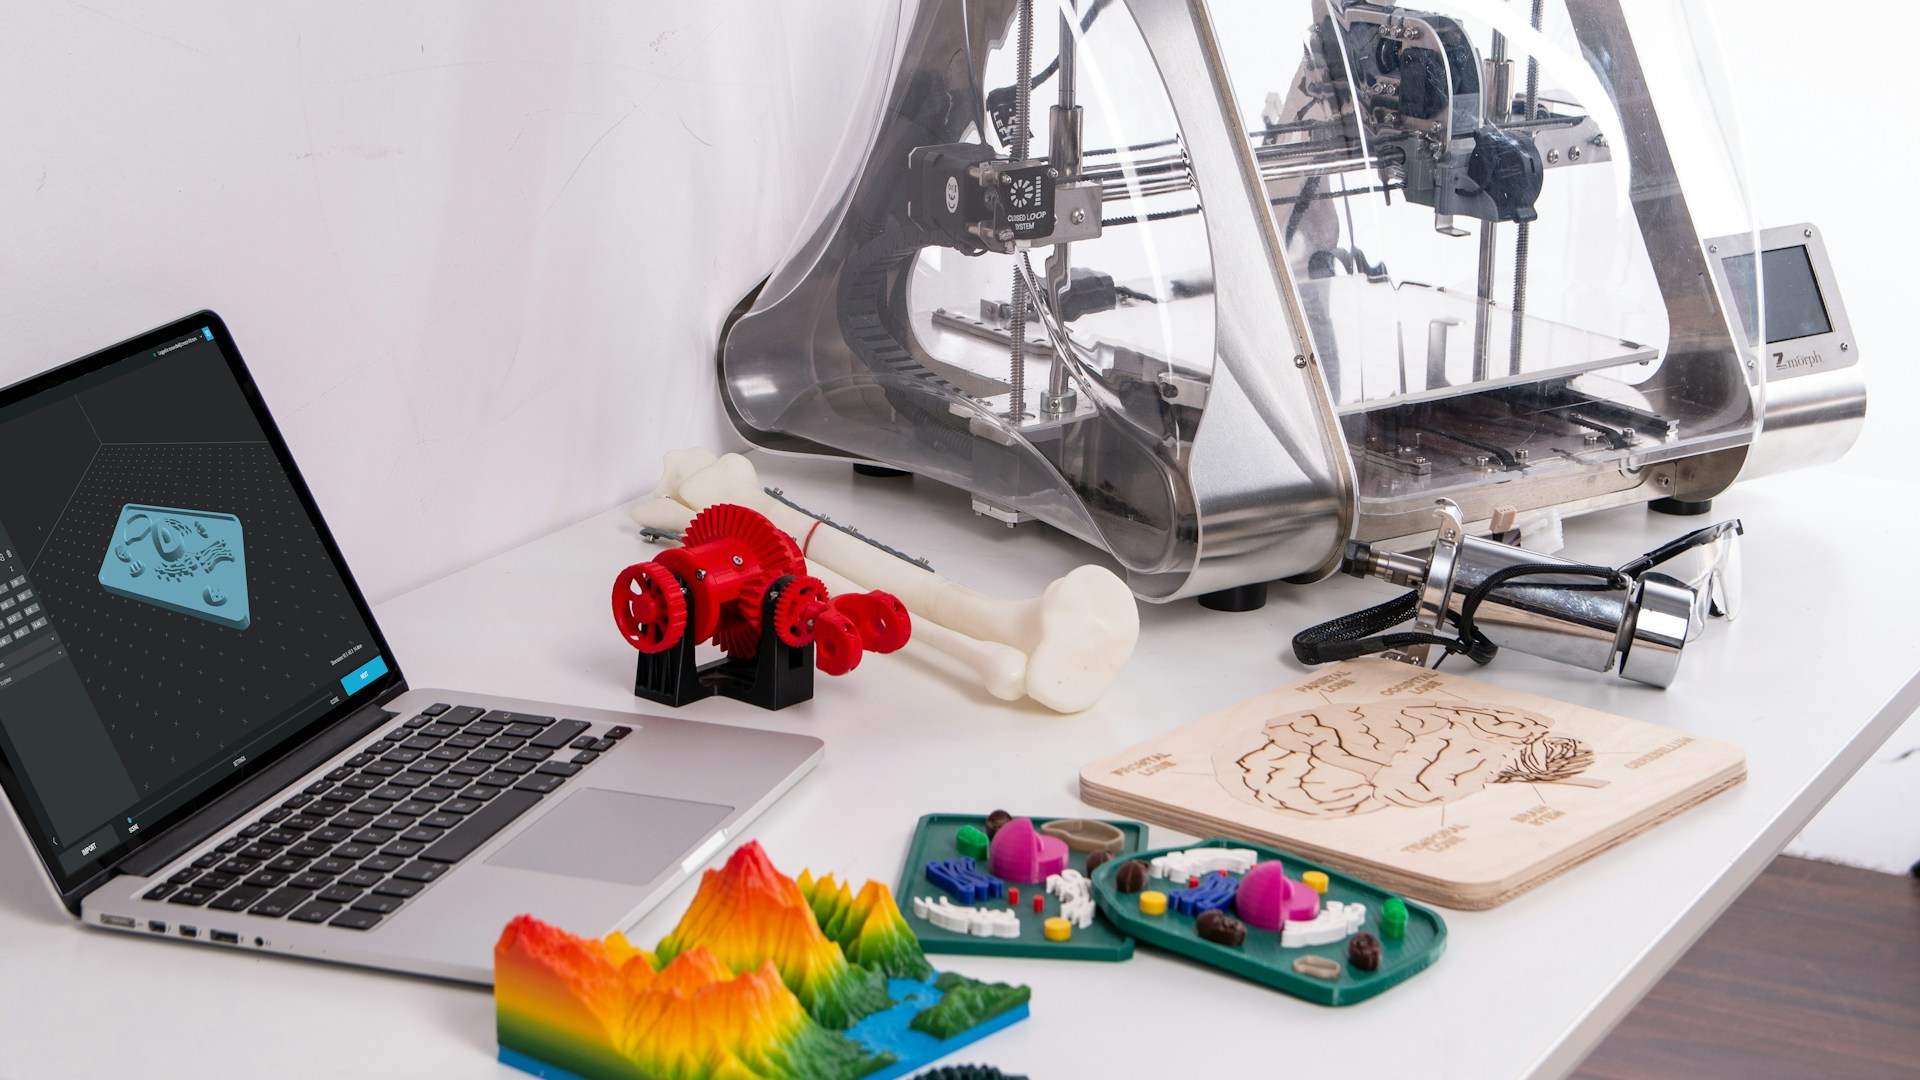 Photo by ZMorph All-in-One 3D Printers on Unsplash
Print Settings for Cable Management Parts
The following settings work reliably for PETG on most FDM printers. Adjust temperatures for your specific brand.
Material:         PETG
Layer Height:     0.20 mm
Nozzle Temp:      235–245 °C
Bed Temp:         70–80 °C
Infill:           25–40% (use 40% for load-bearing parts)
Wall Perimeters:  3–4 (4 for power strip holders and risers)
Top/Bottom Layers: 4–5
Support:          None required for most designs
                  Enable for overhangs > 60° (rare in these parts)
Print Speed:      40–60 mm/s (slow down for first layer)
Cooling Fan:      60–80% (lower end for PETG to reduce layer splitting)
For PLA, drop nozzle temp to 210–220 °C, bed to 60 °C, and push fan to 80–100%. Everything else stays the same.
Skip the raft for cable clips — it wastes material and makes the flat adhesion surface harder to clean up. A well-leveled bed with a thin layer of glue stick or a PEI surface handles adhesion without the extra hassle.
Installation Tips
Double-sided tape vs. screws: For most under-desk surfaces, 3M VHB tape (the gray, very strong variety) holds reliably on smooth laminate and melamine. Foam tapes compress under weight and eventually let go — skip them for anything load-bearing. Screws are the right call for heavier assemblies or particle board desks. Pre-drill with a 2.5 mm bit; M3 or M4 self-tapping screws keep everything secure without splitting the material.
Test before committing: Place clips and trays with removable painter’s tape before applying VHB. Cable runs almost always need adjustment once everything is connected and plugged in. Moving a clip that already has VHB on it is genuinely unpleasant.
Label before routing: Thread cables through clips and trays before plugging them in, then add small adhesive labels at both ends. Once the system is buttoned up, identifying cables by feel alone is slow and annoying.
Leave slack at joints: Wherever a desk moves — height-adjustable desks, monitor arms, any pivot point — leave 10–15 cm of slack in the cable run at that joint. Clips grip well enough that a cable can pull tight without the clip releasing, and a taut cable is more likely to get damaged over time.
Conclusion
A complete 3D printed cable management system for a full desk setup uses roughly 200–350 grams of filament depending on desk size and part count. At current PETG prices ($15–25 per kilogram), that’s $3–9 in materials for the whole build. Print time runs eight to fifteen hours spread across a few sessions, most of which need no attention once the first layer checks out.
The result fits your specific desk, your specific cable sizes, and your specific mounting options — something no off-the-shelf kit can match. When a clip breaks, reprinting it takes thirty minutes. When the desk layout changes, redesign and reprint in an afternoon.
That’s the case for 3D printed cable management: practical, cheap, fully customizable, and satisfying to build. Load up the print queue, pull the cables, and enjoy a clean desk that actually stays clean.